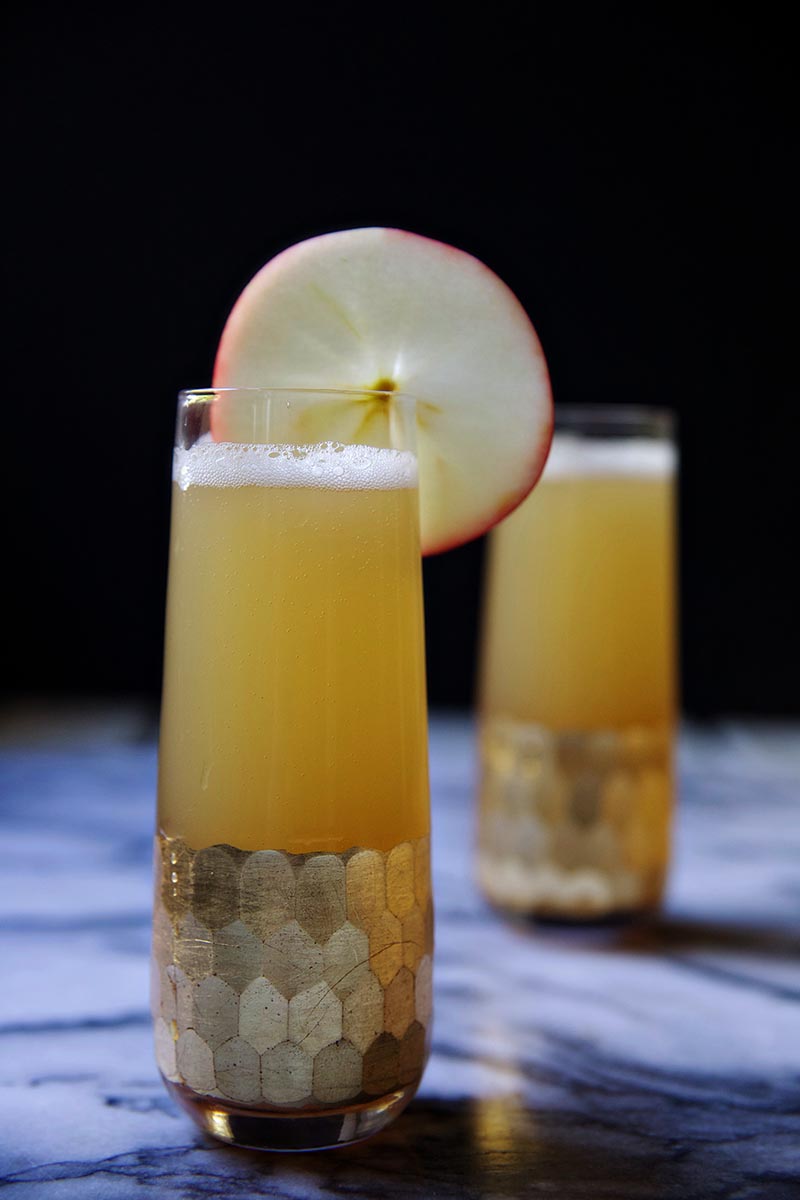
Apple Buck
Last year Dan and I were out for dinner at a local restaurant and I asked the bartender to make me a mocktail,...


Last year Dan and I were out for dinner at a local restaurant and I asked the bartender to make me a mocktail,...
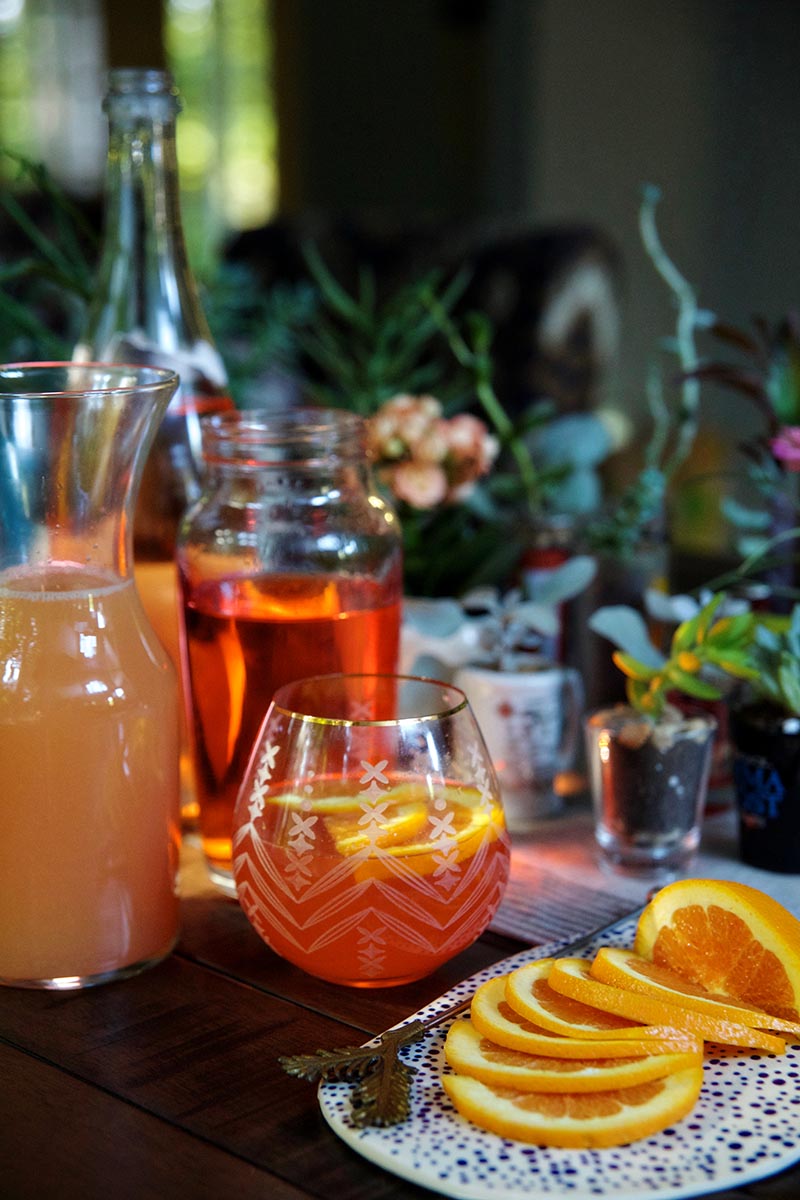
A few weeks ago I loaded Everett into my new mom car (not a minivan) and headed to Atlanta, to see my two...
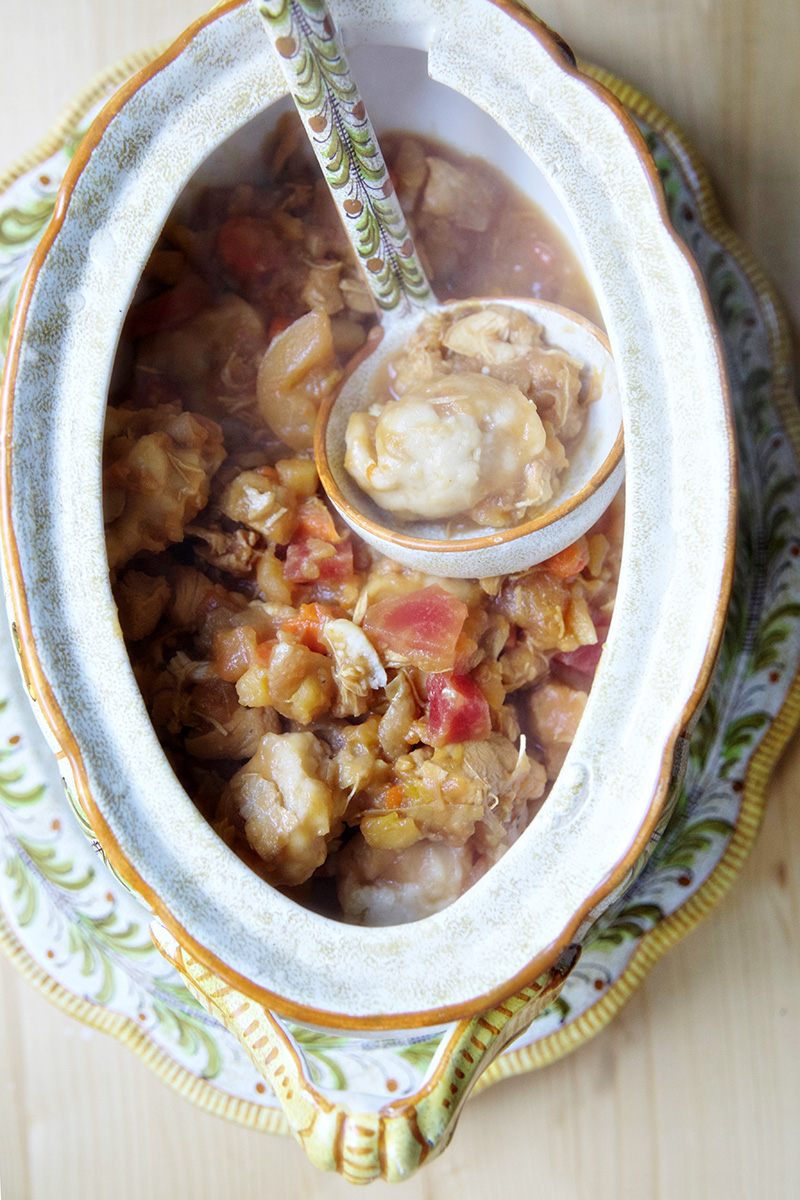
So I had the slightest moment of hesitation sharing this recipe the week before Valentine's Day because chicken & dumplins' are decidedly unsexy,...