I am fully aware that it has been actual YEARS sin...
One of my greatest joys in motherhood is participa...
Ever since we broke ground on our first backyard g...
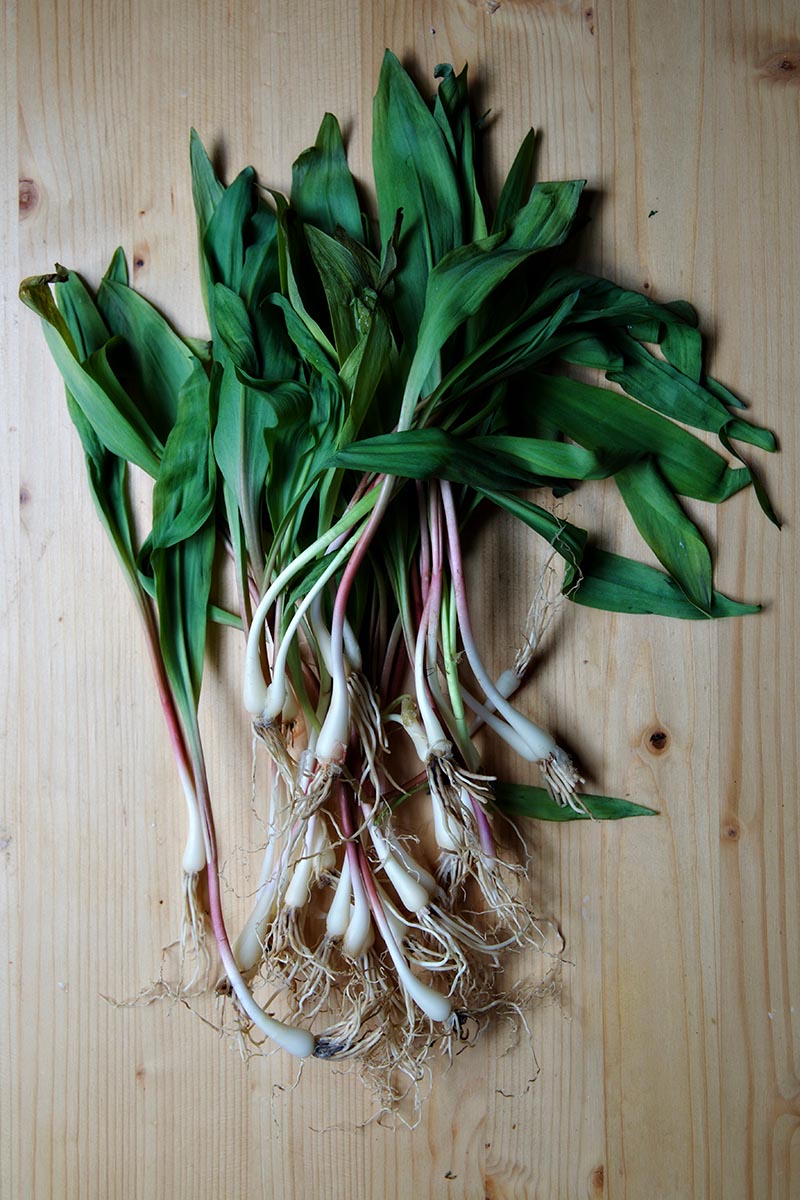
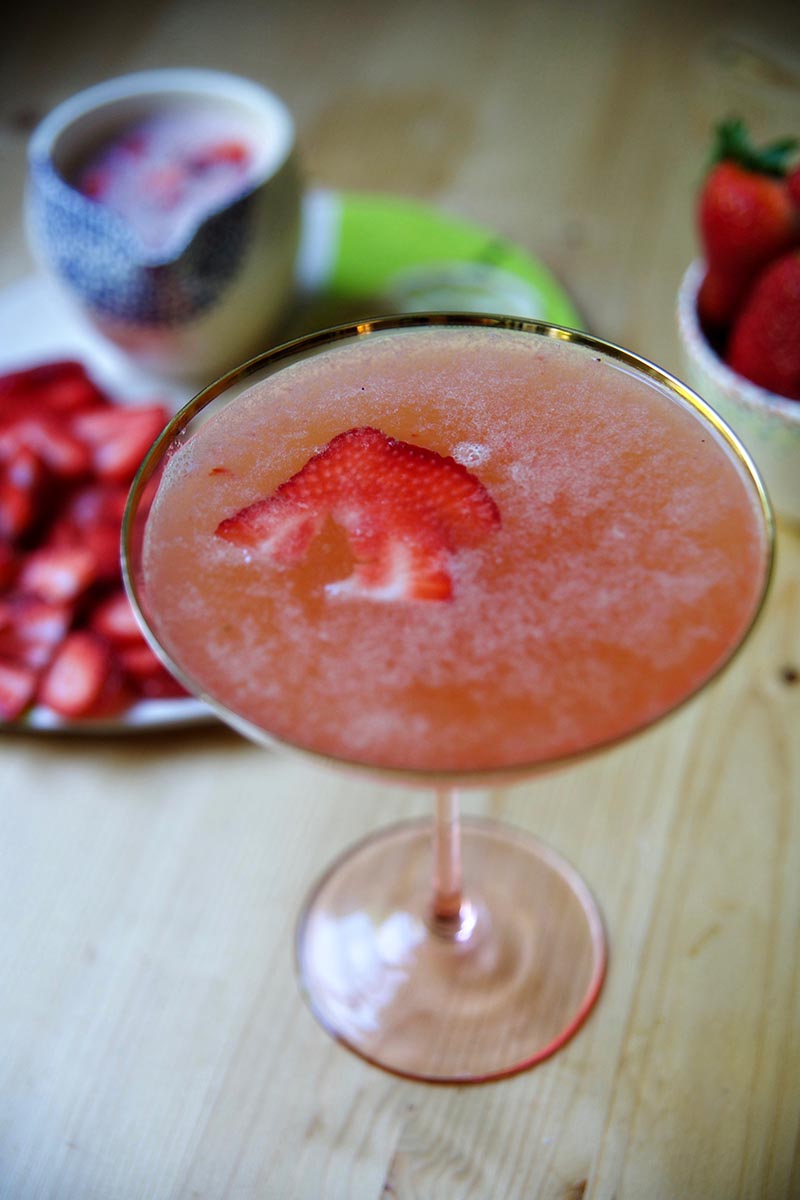
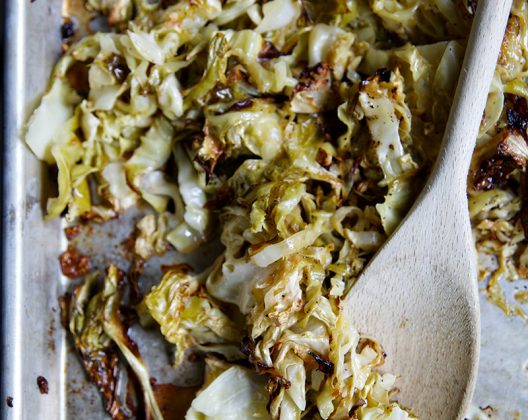
In preparation for today’s St. Paddy’s...