The Cast Iron Chronicles: Part 5
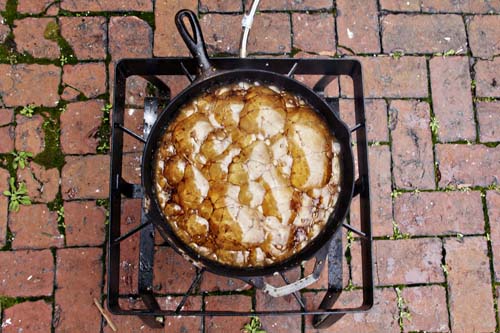
Okay, so after our last super exciting installment I'm back with another boring me-sanding-in-my-living-room-watching-Criminal Minds post. After setting the pan on fire (on purpose),...


Okay, so after our last super exciting installment I'm back with another boring me-sanding-in-my-living-room-watching-Criminal Minds post. After setting the pan on fire (on purpose),...
Okay, so I'm going to start this post with two statements. The first is aimed both at my parents and my landlord- I...

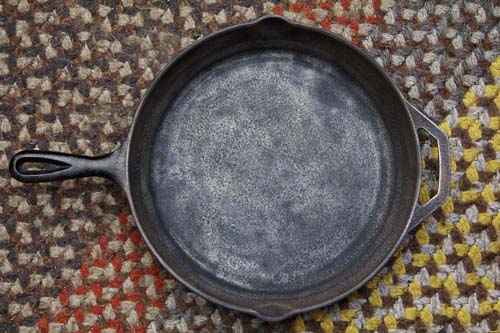
I have to say, I've been cracking away at this thing and I'm starting to see real results! Today's installment shows an additional...