Blog - biscuits and such
southern food blog
10088
page-template,page-template-blog-large-image-whole-post,page-template-blog-large-image-whole-post-php,page,page-id-10088,ajax_fade,page_not_loaded,,select-child-theme-ver-1.0.0,select-theme-ver-2.8,wpb-js-composer js-comp-ver-4.3.5,vc_responsive
 

Gluten Free Sourdough Bread

I am fully aware that it has been actual YEARS since the last time I blogged, but, life came at me fast. In the past two years I’ve dedicated myself way more fully to my day job (co-director and teacher at a Montessori school). I was pregnant and then found out at 20 weeks we had lost the baby. I lost my dad to a heart attack. And now, I’m pregnant again, at the end of my second trimester, due this summer. I wrote another cookbook, which will be out this summer. And of course Everett has continued to grow and change and be his weird intense amazing self. It’s been… a lot.

I’ve also struggled with how people’s interactions with blogs changed. There’s a lot of “ugh story skip to the recipe.” Which… I get. But I did this thing for free for a lot of years, and the story telling was a part I loved, and a part that let me have genuine connections with people. For a while, at least. But I get it, the internet changed, instagram killed blogs, etc.

AS IT WERE. I am back because I have something to share that needed a more permanent home than my instagram stories. Along with the rest of the world stuck at home, I decided to try my hand at sourdough. Since I have celiac disease this would have to be, of course, gluten free. I read every gf sour dough recipe I could find and was overwhelmed by all the speciality flours. I’m still working from home full time, plus parenting, I don’t have time for 5 flours. Then! I happened upon a King Arthur Flours recipe for a gf starter using their measure for measure flour. This is my favorite gf flour, so I decided to give it a whirl.

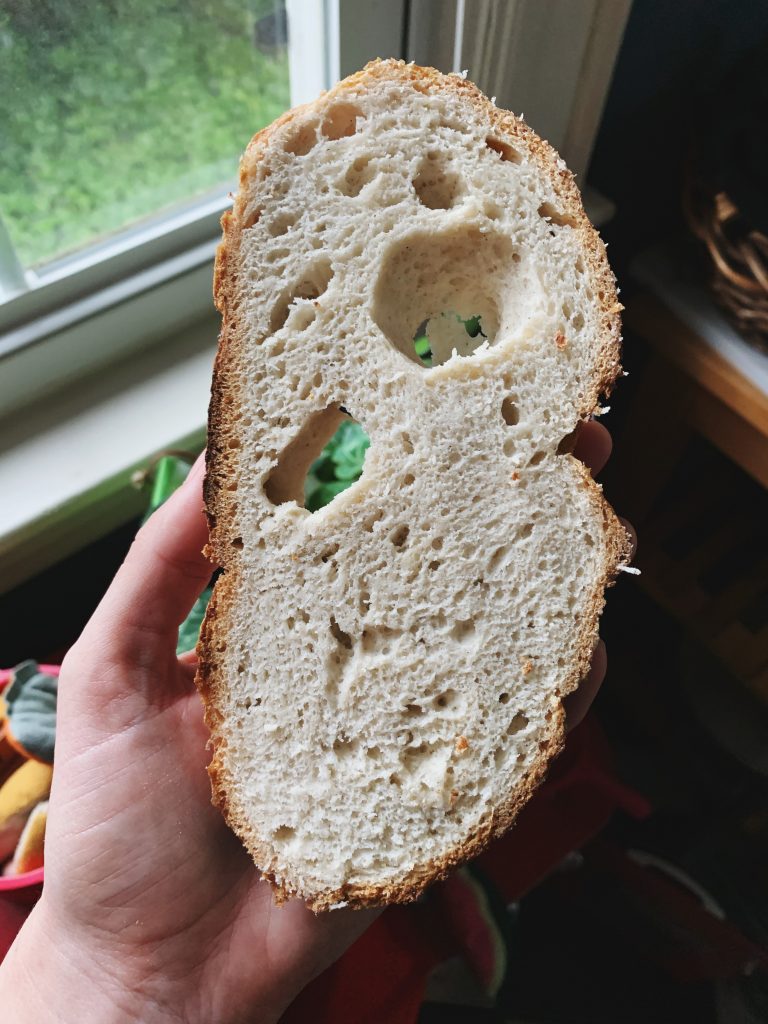
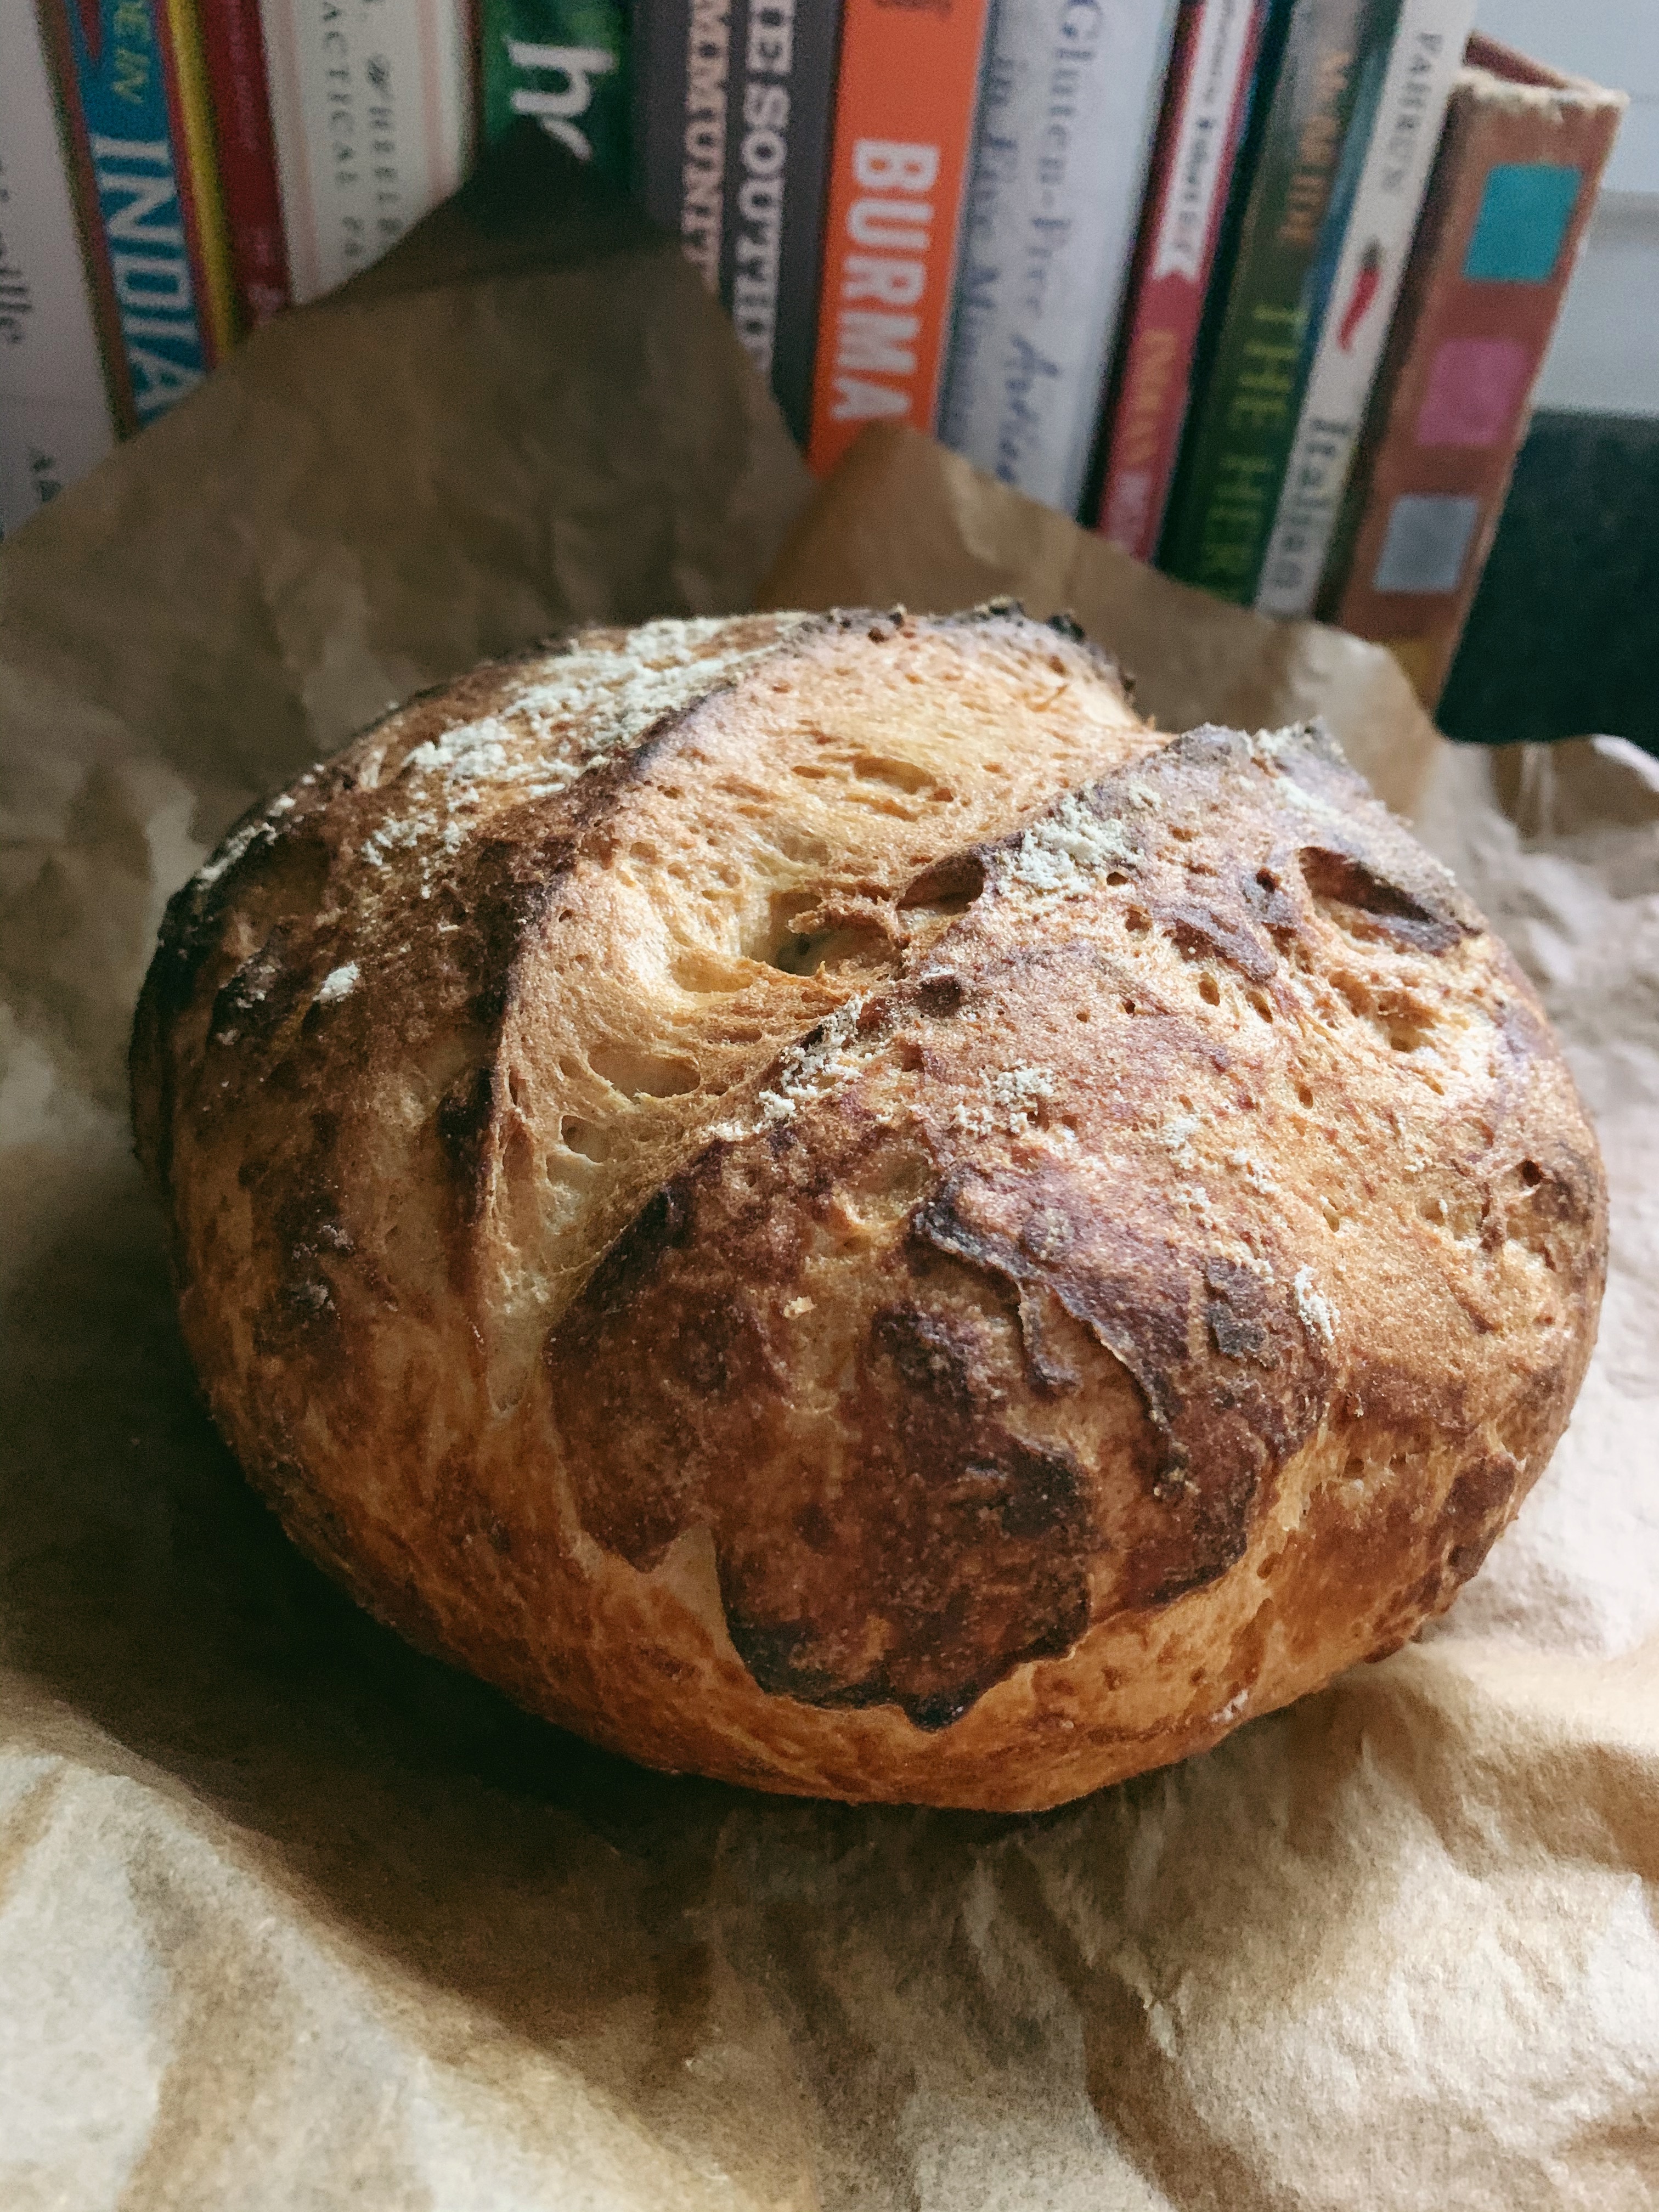
It is now important to note that KA does not have a gf sourdough recipe to go with it. I decided to see if I could wing it with a rough understanding of wet/dry ratios gleaned from recipes with too many flours and tried my hand at a gluten free sourdough using KA measure for measure flour. AND IT WORKED. Y’all it is light, fluffy, has a great crumb, tastes good, and is seriously magic. It’s so good that if someone served it to me in a restaurant I would think they messed up and it was regular bread.

I decided this recipe was worth sharing since I honestly couldn’t find a gf sourdough recipe that was low maintenance and the world deserves one. Here it is, folks, the first recipe on B&S in two years. Enjoy!

Gluten Free Sourdough Bread

Starter:

  • 1 cup King Arthur Gluten Free Measure-for-Measure flour (this is the only recipe I have tested this with, I cannot ensure that it will work with other flours).
  • 1/2 cup plus 1 tablespoon water

Starter Directions:

  • Day 1: Mix together flour and water until fully incorporated. Cover lightly with a towel and then put in a warm, dark place in your kitchen.
  • Day 2-4: Divide your starter in half and discard half (or make it into pancakes!). Add 1 cup flour and 1/2 cup + 1 tbsp water to your starter and mix to incorporate, making sure to get all the clumps of flour. Cover loosely and keep on your counter.
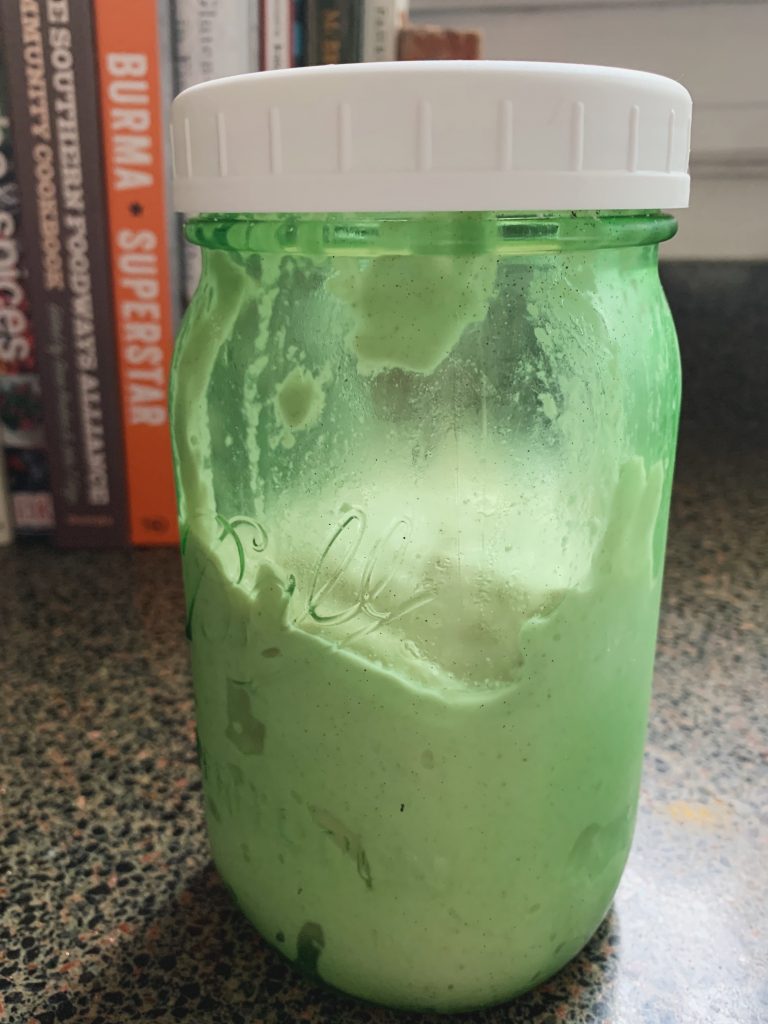
  • Day 5: By day 5 your starter should be doubling in size and getting nice and fluffy. This might take an extra day or two in winter if your kitchen is cold. This is when it’s ready to make bread! Divide your starter in half, setting half aside for your bread recipe (below). Feed the remaining starter as normal (1 cup flour + 1/2 cup plus 1 tbsp water). Transfer to a jar with the lid on loosely and store in the fridge.
  • Note: By day 5 my starter was kind of dry. I added an extra 1/3 cup water, a little at a time, until it was more of a paste than a dough.

Two Sourdough Boules:

  • 1 cup sourdough starter
  • 3 cups water, divided
  • 4 cups King Arthur GF 1-1 flour, divided
  • 1/4 cup xanthum gum
  • 1 tablespoon sea salt

Sourdough Directions:

  1. The night before you want to make you bread combine 1 cup of starter, 1 cup water, and 1 cup flour in a bowl. Mix well to combine. Cover and refrigerate overnight.
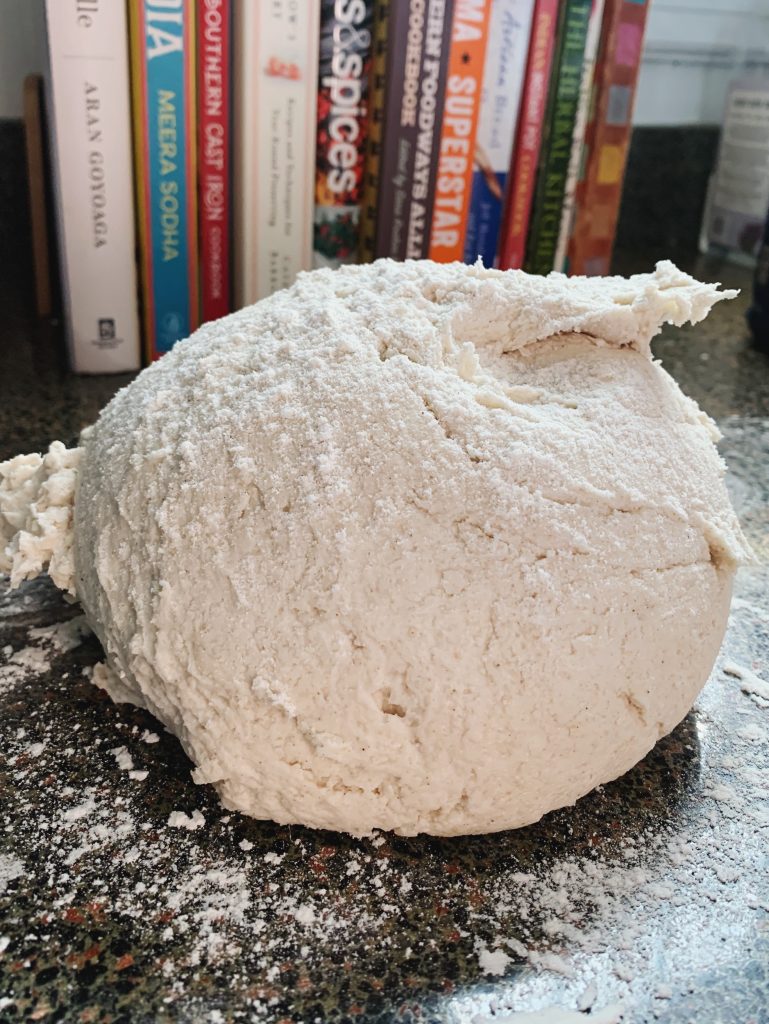
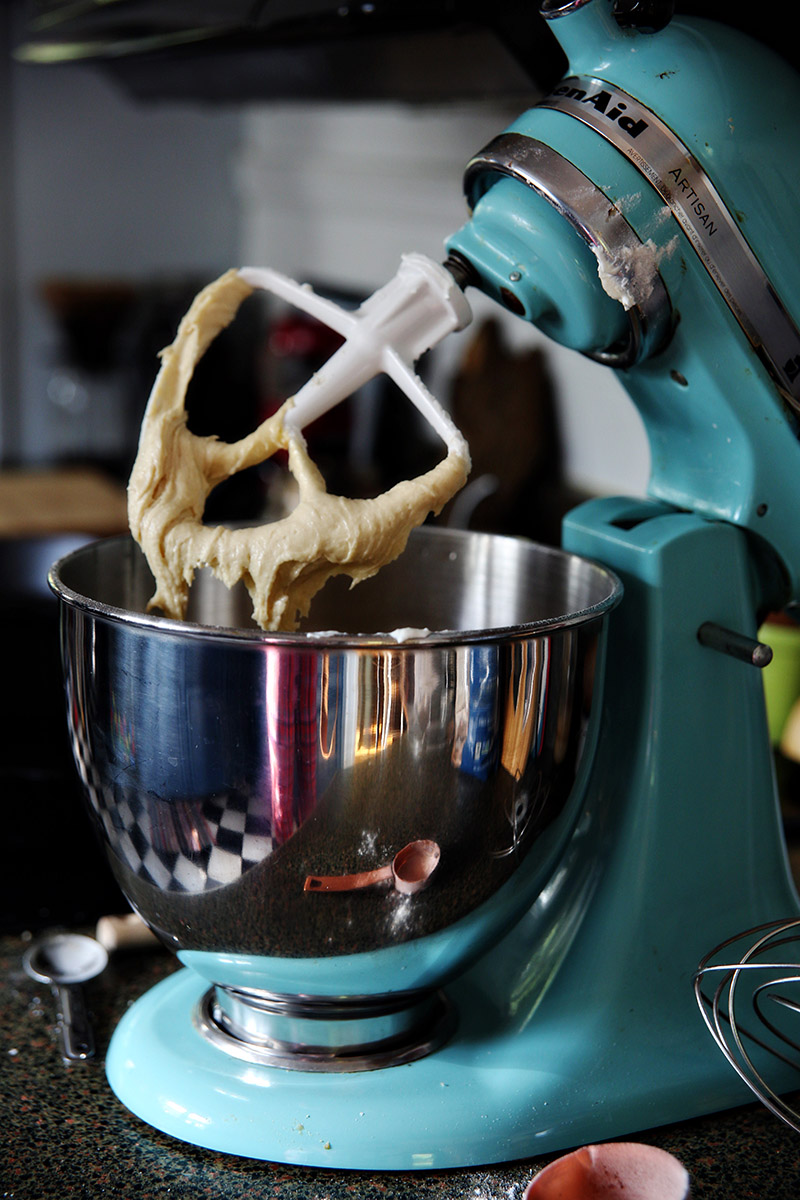
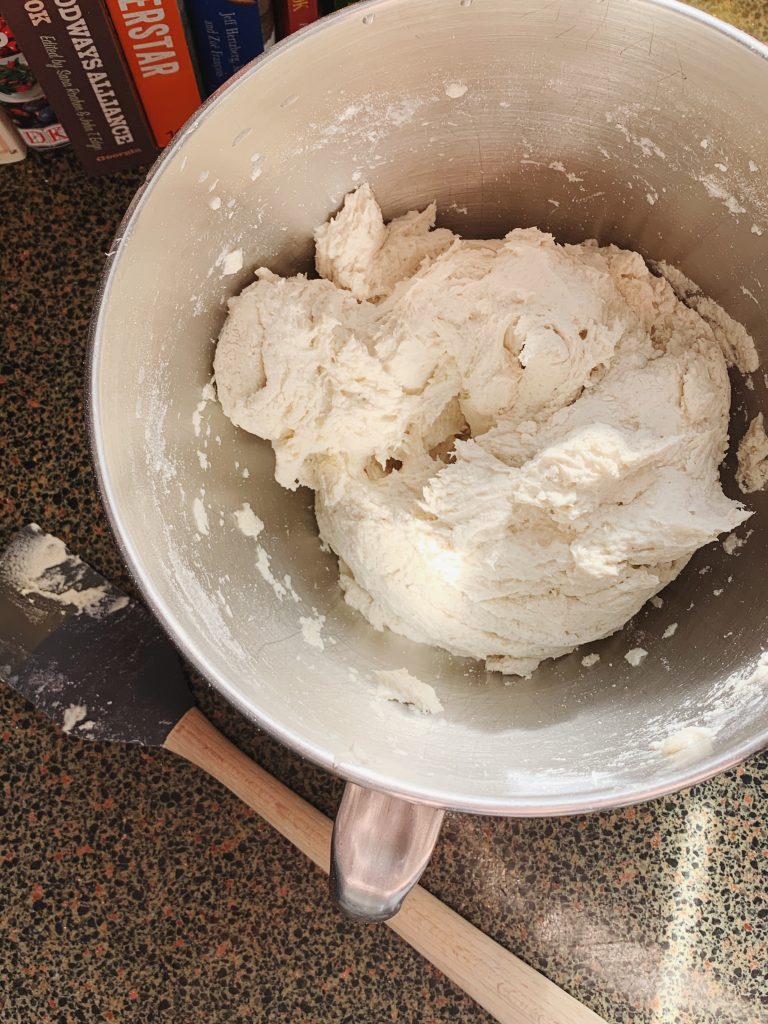
  2. In the morning combine your starter mix with remaining flour, water, xanthum gum, and salt in a stand mixer. Mixing with a dough hook, mix on medium speed until a dough ball has formed. If you don’t have a mixer mix with a wooden spoon to form a ball. Gluten free flour does NOT need to be kneaded/worked like wheat dough.
  3. Flour a work surface and divide the dough into two balls. Gently work each ball into a sphere, handling it delicately as you can overwork gf flour. Place each sphere in a bowl and cover with a damp towel.
  4. Allow to rise for 4-6 hours in a warm place in your kitchen.
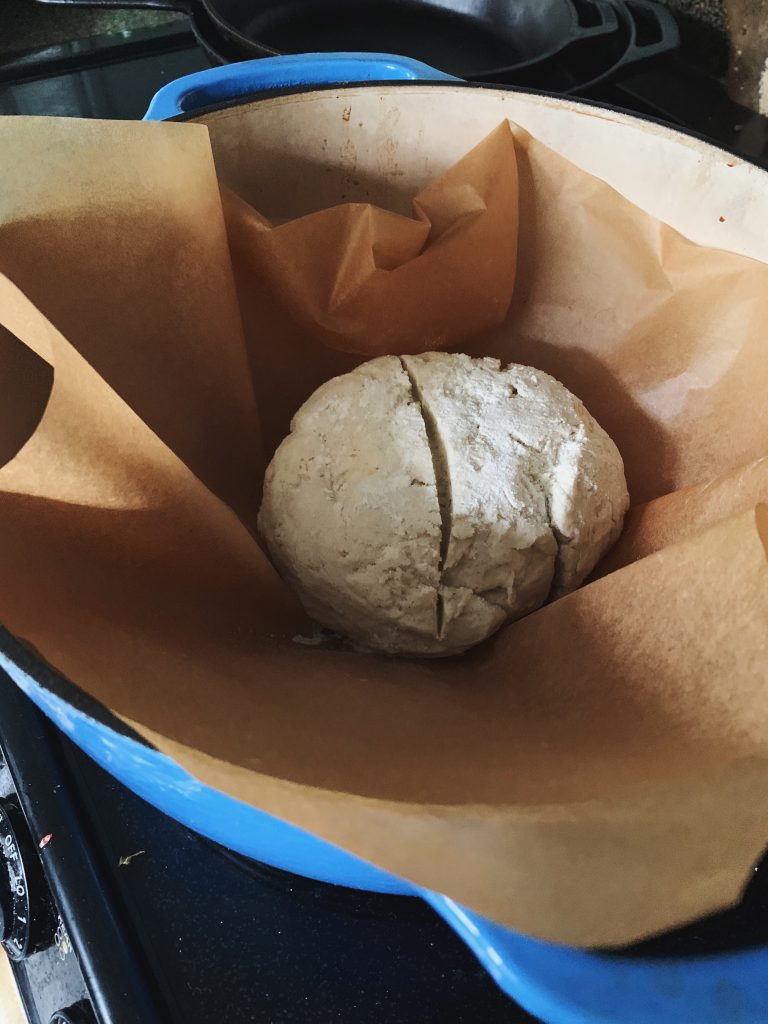
  5. Heat your oven to 475F. Place a cast iron Dutch oven in the oven to warm. Roll out a 12″ sheet of parchment paper and lightly flour the bottom. Place one boule on the parchment and dust with flour. Cut a slit across the top of the boule to allow the bread to expand.
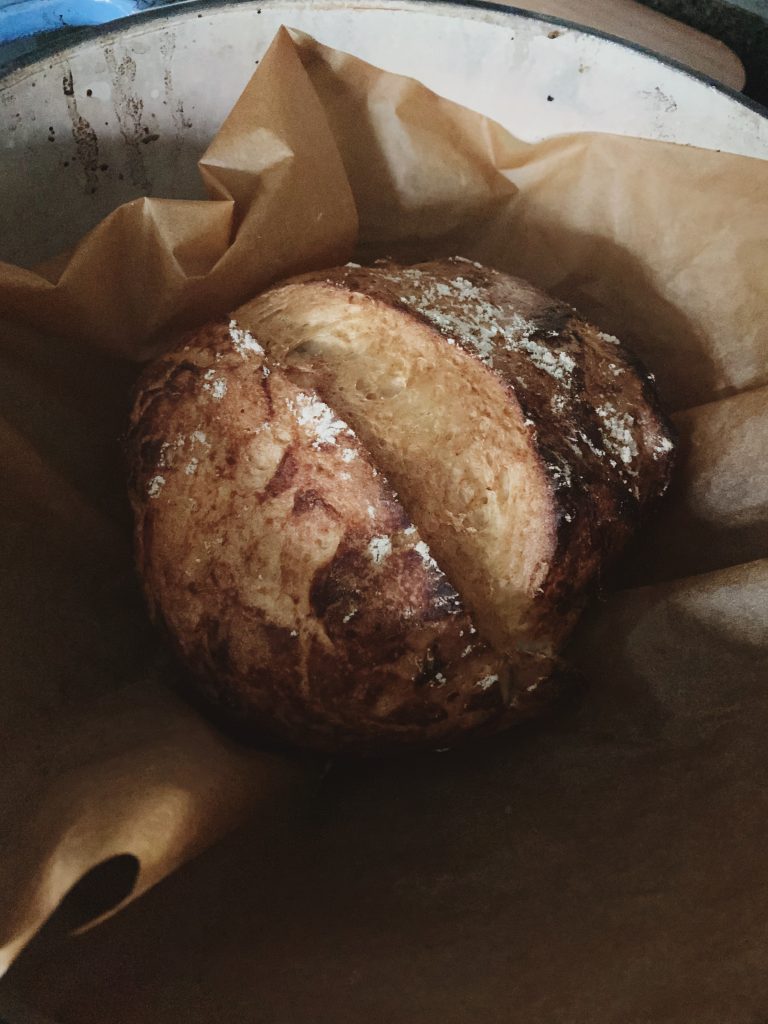
  6. When the oven is preheated take the Dutch oven out. Using the parchment paper to move it, transfer the dough to the Dutch oven. Add an ice cube to the DO (outside the parchment) and quickly put the lid on. Transfer the DO back to the oven, lidded. Bake for 1 hour.
  7. After an hour remove the lid and bake an additional 5 minutes.
  8. Transfer your bread to a rack to cool. Cool for at least one hour before slicing (important!).
  9. Repeat the baking process with the second boule.

NOTES:

  • A few people have tested this recipe and said it’s not quite finished baking. I suspect my oven runs hot, so if yours runs on the cooler/drafty side try the break at 500. The crust should be a dark golden brown.
  • Be very careful when handling the dough after the rise. The xanthum gum works to build the bubbles/rise and if you knock it down transferring it to the Dutch oven, it won’t have time to re-rise and will be dense.
Read More

Strawberry Skillet Cake

One of my greatest joys in motherhood is participating in my son’s relationship with food. He loves to eat, and eats with a gusto that occasionally makes me envious. I wish I still had the ability to feel that sort of raw enthusiasm for pancakes! As both a recipe developer and a preschool teacher I have a lot of opinions on kids eating, and I have to say that we have worked hard to encourage Everett to be a good eater. Yada yada yada boundaries and consistency and regular introduction of foods, etc. You know? You know.


Sharing my favorite foods with Everett is a joy that shifts and evolves as he ages through each season. His gusto for beets last winter was matched by his unbridled love of lentils this winter. I can’t wait to take him strawberry picking for the first time, to watch him eat his first hot donut from Brit’s, to teach him all the ways that we can make magic in the kitchen together. I very much look forward to the day when he makes me dinner for the first time, though of course as recompense for what we’re currently experiencing I will lay on the floor and yell “NINNER PLEASE” repeatedly until he is done.


One of my big rules surrounding my toddler and food is the avoidance of sugar near bedtime. This is, of course, strictly selfish as I am trying to close the door on parenting at no later than 7.30pm each night. Sugar anytime after 5 complicates my plan and I’m just not in the business of making things harder on myself (if I know how to avoid it). Because I’m not a totally mean mom I am a big supporter of breakfast or lunch time dessert, and find brunch to be the ideal time to offer my kid a dose of something wonderful (and crazy making).


Everett devoured this strawberry cake with enthusiasm, smiling and laughing and occasionally shouting STRAWBERRY CAKE while he licked his fingers. It made me smile too. Crisp in all the places it touched the skillet, sweet because of the berries and just the right mount of spongey. This cake was lovely, the perfect treat for a spring brunch.


Strawberry Skillet Cake


3/4 cups sugar

1 stick salted butter, room temperature

1 1/2 cups flour

2 eggs

1 tsp vanilla extract

1 tsp baking powder

1/2 tsp baking soda

1/2 tsp sea salt

3/4 cup Greek yogurt

1lb fresh strawberries, hulled and halved


Preheat oven to 350F.


Cream butter and sugar with a mixer. Add in eggs, one at a time, and vanilla. In a separate bowl, combine flour, baking soda, baking powder, and salt. Add the dry mixture to the butter 1/3 at a time, alternating with yogurt. Mix well as you combine ingredients.


Add strawberries and fold in by hand. Grease a 10″ skillet and gently transfer the batter to the skillet. Bake for 35-40 minutes or until cooked through and browned.


Make this gluten free: 

  • Using a measure for measure flour (we used King Arthur brand), substitute flour for gluten free flour.
  • Increase the amount of yogurt to 1 cup.

SaveSave

SaveSave

SaveSave

Read More

Parmesan Grits with Asparagus & Charred Steak

Ever since we broke ground on our first backyard garden in Baltimore I have wanted to plant asparagus. Asparagus, tender and crisp and one of the the first fleeting signs of spring, takes a prohibitively long time to cultivate as an apartment dweller. Over the years we’ve had gardens in front yards, back yards, pots, and on kitchen counters. We’ve grown herbs and vegetables and even tried our hand at small orchards in pots (all with varying degrees of success), but I’ve always yearned for a kitchen garden that I could make my own, that I could invest time and energy in over the course of years. Thankfully I have that opportunity now, in a yard that I can finally call my own.


I have big plans for the garden at our new house, but haven’t yet broken ground. But my dreams! They’re big! I’m thinking of building the beds in the front yard, since that gets the best consistent light. I want tomatoes, so many tomatoes, and peppers, garlic, and kale, and (of course) asparagus. I want a garden we can rotate throughout the seasons, something that can provide food for our table and a little peace for my mind.


Tonight’s dinner was borne of my spring fantasies. Spring has finally, gleefully sprung here in Wilmington. That azaleas have painted the town shades of pink, the dogwoods are in full bloom, and everything is coated in a thin layer of yellow pollen. The local farmer’s market opened this past weekend and with it came the first crops of berries and asparagus. The berries were gone the instant Everett got his hands on them but the asparagus made it’s way into dinner, lightly steamed with lemon and served over parmesan grits with buttery mushrooms and steak charred in a hot skillet.


Parmesan Grits with Asparagus & Charred Steak


grits:


2 cups stone ground yellow grits

6 cups water

2 tbsp butter

1 tbsp sea salt


3 cups porcini mushrooms

3 tbsps butter

1 lb flat iron or skirt steak

1 bunch asparagus

2 lemons

1/2 cup grated parmesan cheese, plus a bit for sprinkling on top


Begin by making your grits. Combine grits, water, salt, and butter in a pot. Bring to a boil, stir well, and reduce heat to a simmer. Cook, covered, stirring occasionally, until the grits are thick. Stir in parmesan and the juice from 1 lemon.


Clean and slice mushrooms and toss them in a pan with 1 tbsp butter. Cook over medium heat, stirring occasionally, for 5-7 minutes. Set aside.


Keep the skillet hot and add another tbsp of butter. Place the steak in the hot skillet and top with a bit of sea salt. Cook 5 minutes on each side and then allow to rest for 5 minutes.


While the steak is resting, trim the asparagus and place in a stainless steel pan with 1/2 cup water and the juice of 1 lemon, over medium heat. Simmer for 3-4 minutes, until the asparagus is bright green and tender.


Serve the grits piled high with sliced steak, mushrooms, and asparagus. Top with a squeeze of lemon juice and a sprinkle of parmesan.

Read More