Blog - biscuits and such
southern food blog
10088
paged,page-template,page-template-blog-large-image-whole-post,page-template-blog-large-image-whole-post-php,page,page-id-10088,paged-113,page-paged-113,ajax_fade,page_not_loaded,,select-child-theme-ver-1.0.0,select-theme-ver-2.8,wpb-js-composer js-comp-ver-4.3.5,vc_responsive
 

The Cast Iron Chronicles: Part 6

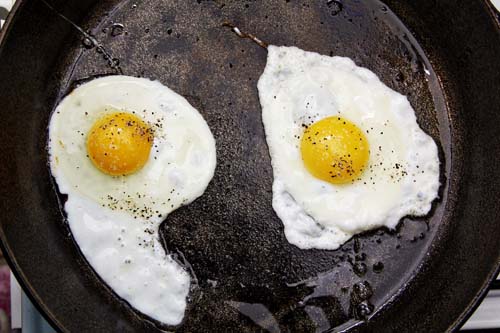
I want to begin this post with an anecdote. My specialty, if you will. One school break (winter, I think), I was at my parent’s house making myself breakfast. As I was heating up the pan to fry an egg (my breakfast of choice since as long as I had a choice) I was chatting with my dad and he started to tell me a story about his father. According to the story, his father had been very particular about the appropriate way to fry an egg, and had often taken over as my dad attempted to fry eggs, telling him he was doing it wrong.  Almost immediately after he told me this story we chuckled, then he looked over at me and said ELENA YOU’RE DOING IT WRONG. He pushed me out of the way and fried my egg for me as I fell onto the floor laughing.

Follow up question– how do you fry an egg the WRONG WAY?

Anyhoo, welcome to the last post in The Cast Iron Chronicles. It’s bittersweet, I’ll admit. On one hand, I’m immensely proud of myself for successfully salvaging a wonderful cast iron pan while also managing not to burn the house down or drive Dan crazy with the noise produced while trying to sand and watch Criminal Minds at the same time.  On the other, this series has been a lot of fun and the response has been incredible, so I’ll be sad for it to be over.

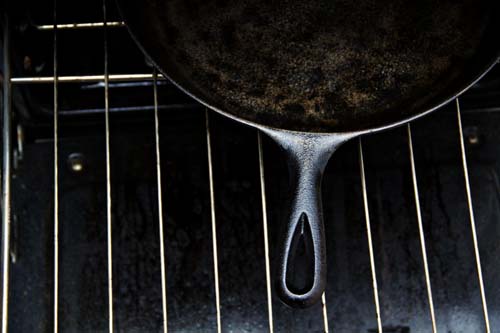
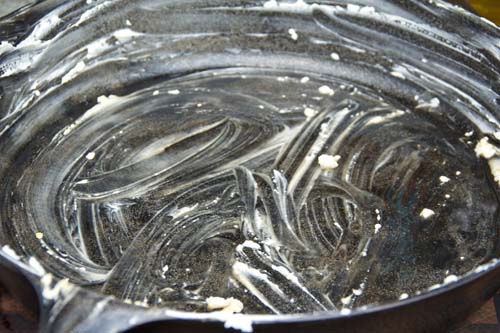
After giving the pan it’s final sanding and a good scrub it was time to gently season it. For those who have just received new pans (or old pans that need to be reseasoned) this is where you pick up the story. As with everything, how to properly season cast iron is hotly debated on the internets. I’ll tell you what I did, but feel free to consult anyone else who probably knows better than me. I’ve always been taught that to season a pan you coat it in animal or vegetable fat (or a combination), and put it in a warm oven for an hour. Then you let it cool, rinse, and repeat.

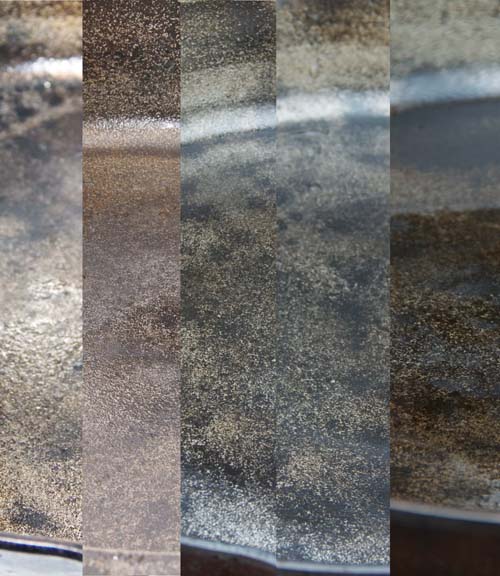
That was pretty much what happened here.  I alternated between olive oil, shortening, and bacon drippings, giving the pan a thorough coating and then letting it cook in a 200 degree oven for an hour.  Then I would let it cool completely, wipe it out, and start all over.  I’ve been doing this once or twice a night for about a week, probably a total of 10 times.  Once the pan looked more charcoal than pewter, I decided to try and cook something in it (the real test).

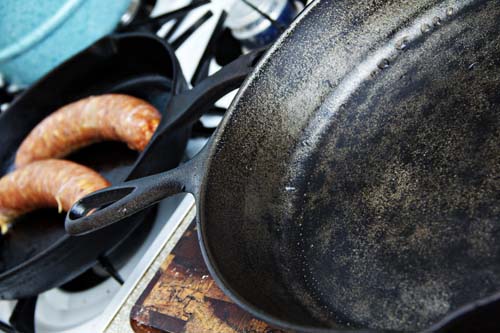
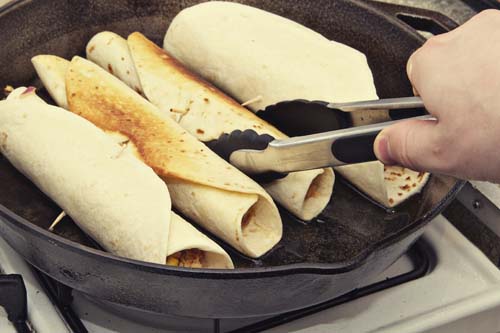
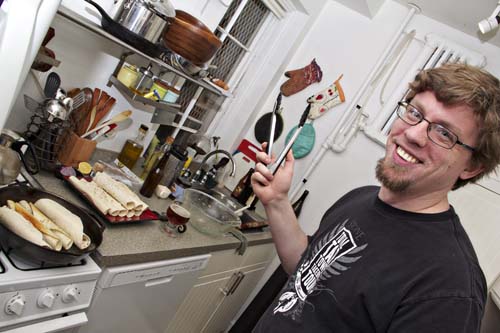
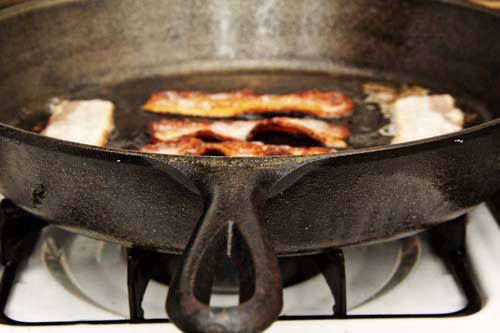
I had intended to christen the pan with bacon, but on Saturday Dan was making taquitos and it just seemed like the pan was the perfect size for four giant taquitos at a time. So, we broke her in with what is essentially a fried taco (yum).  The next morning she got her proper porky christening when we made bacon and eggs.  Since then she hasn’t left my stove, and my other cast iron pan is starting to feel jealous. And yes, I’m using female pronouns, because cast iron pans are vessels just like boats.

So far, she has been amazing. With each thing that I cook in her she gets a little darker, and I’ve been careful to recoat her with oil after each use because she’s still fragile.  This process has been so much fun, I really appreciate you reading along- your support and feedback have been incredible!  What has been most exciting for me is the feedback that so many of you feel empowered to try and salvage/reseason your own cast iron. I would love to follow along as you do this, so please send me links to pictures!

Part 1 Part 2 / Part 3 / Part 4 / Part 5

p.s. Real money says that after I post this I’ll get an email from my dad that explains the ways I’m frying an egg wrong in that top photo.

p.p.s. He did email me, but to say that I exaggerated and the story never happened. When I pointed out he had witnesses (my stepmom) he said her memory wasn’t credible. Clearly.

Read More

The Baltimore Bomb

I love Baltimore. I mean, it’s not the South, it’s not North Carolina, but it’s home (for now). This city stole our hearts while we were in school, and in the years that we’ve been here our love for the charming, quirky, a little bit crazy town has only grown. One of the things that we love the most is the incredible food culture. People here love food. Weird food. Unique food. Food that has Old Bay on it.

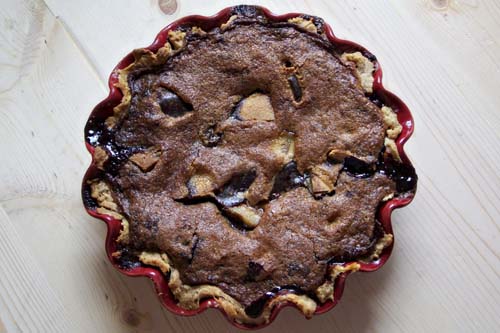
It seems like every week a new restaurant or food business opens that we’re clamoring to try. And it’s more than just good crab pretzels (though we have that). It’s beer bars with hundreds of beers to choose from, it’s places making mussels with garlic confit and duck fat fries. It’s places like Dangerously Delicious, a pie restaurant that features an array of fruit pies, savory pies, and knock-your-socks-off-decadent pies like the Baltimore Bomb.

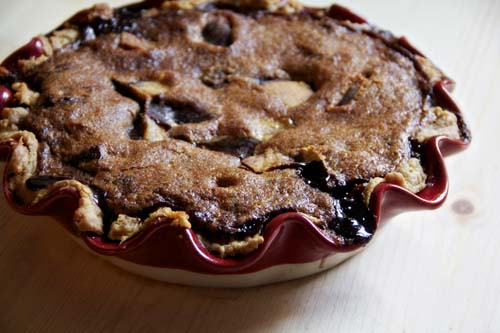
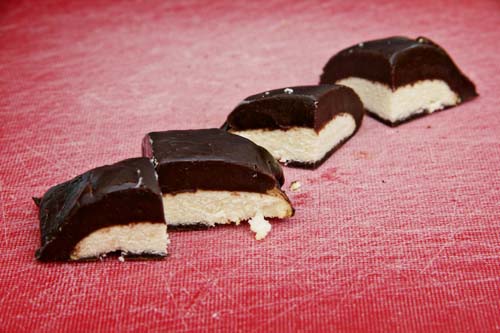
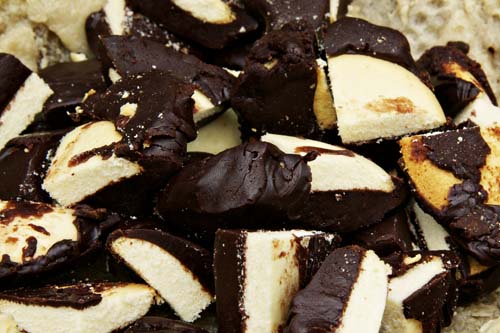
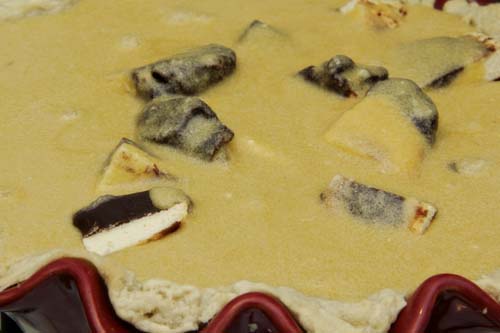
The Baltimore Bomb is a combination of two of my favorite things- Berger cookies and chess. A Berger cookie is quintessentially Baltimore, a cake like cookie topped with a rich ganache. It’s beyond indulgent, so rich that you can only eat one. Or at least, I can only eat one. The Baltimore Bomb is chopped up Berger cookies topped with a vanilla chess. The end result is rich and sweet but also light and incredibly delicious. Or so my guests said, I could only eat a sliver.

Thanks, Dangerously Delicious, for bringing this amazing pie into our lives. We need more pie lovers like you in the world.

The Baltimore Bomb
Source: Dangerously Delicious Pies

pie crust:

1 1/4 cup flour

1 tbsp sugar

Pinch of salt

1 tbsp shortening

3/4 stick butter

1/2 cup cold water

chess:

1 cup sugar

1/2 cup brown sugar

5 eggs

1 tsp vanilla

2 tbsp flour

1/2 cup butter, melted

6 Berger cookies

To make your pie crust, combine flour, sugar, and salt. Use your hands to work in shortening. Cube butter and work that in until the texture is like course corn meal. Stir in water until dough comes together. Refrigerate at least one hour.

Roll your pie crust out and lay it in your pie dish. Quarter your cookies and place them in the dish. Heat oven to 350

Whisk together sugar, brown sugar, and flour. Beat in eggs, one at a time. Add in butter. Pour over cookies.

Cook for 45-60 minutes, or until the top is golden brown and the center is mostly solid. A little jiggle is good, it will quickly firm up.

Let cool and enjoy!

Read More

Love(ly) Mini Cakes

This week, two of our close friends got married. It was a beautiful ceremony, the reception was so much fun, and it was special to see two people we love making such an important promise to each other.  On Wednesday night I brought some treats over for the bride, Megan. I made a handful of little cakes and we drank pomegranate martinis, chatted, and squee-ed over the wedding details.  It was a lovely way to spend some time with Megan before the wedding weekend whirlwind was in full force.

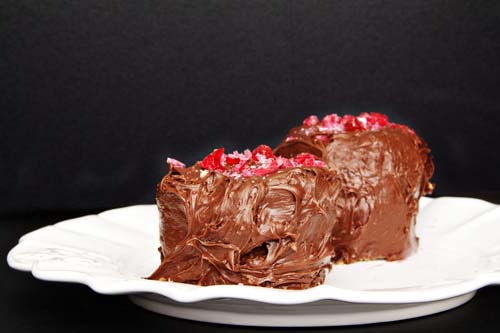
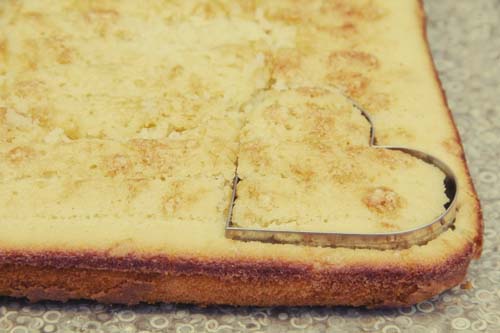
I made eight “cakes” total, four red velvet and four vanilla. Essentially I made a sheet cake of each flavor and then used cookie cutters to create little miniature layers.  They were so cute, personal stacked layer cakes. Perfect for those that love a lot of icing. And because Aaron and Megan got married the same week as Valentine’s Day (and because weddings are full of, you know, love) I wanted to decorate the cakes with pretty red and pink details.  When I couldn’t find red sprinkles a friend recommended crushed hard candies, which were excellent! They were both the right color AND delicious.  So, a total win.

Congratulations Aaron and Megan! We love you!

Love(ly) Mini Cakes

white cake:

1 cup sugar

1 stick butter

2 tsp vanilla

2 eggs

1 1/2 flour

1/2 cup milk

1 1/2 tsp baking powder

red velvet cake:

2 1/2 cups all purpose flour

1 tsp baking powder

1 tbsp cocoa powder

1 3/4 cups sugar

1 tsp salt

1 1/2 cups vegetable oil

1 cup buttermilk, room temperature

2 large eggs, room temperature

3 tbsp red food coloring

1 tsp vanilla extract

1 tsp white vinegar

whipped cream:

1 cup heavy whipping cream

1 tsp vanilla

2 tbsp sugar

chocolate frosting:

1/2 cup butter, softened

3 cups powdered sugar

1/3 cup unsweetened cocoa

1/4 cup milk 

Pink and red hard candies for decoration

Instructions: 

Start with your white cake. In your mixer, cream butter and sugar. Add in eggs, one at a time.  Add vanilla, and then slowly add in flour, mixing all the while.  Finally, add in milk.  Oil and flour a baking sheet.  Pour batter into your pan and bake in a 350 oven for 25 minutes, or until golden brown. Transfer to rack and let cool.

Next, cook your red velvet cake. Sift together dry ingredients.  In a stand mixer or large bowl, mix together wet ingredients.  Beat until combined with paddle attachment.  Slowly add dry ingredients to wet ingredients. Oil and lightly powder your pans. Pour cake batter evenly between three cake pans.  Bake for 30 minutes or until cooked all the way through, rotating halfway. Transfer to racks and let cool.

For the red velvet cake, I made a whipped cream frosting.  To make this, simply whip heavy cream, sugar, and vanilla until stiff peaks form. For the white cake I made a chocolate frosting. To make this, beat butter until smooth. Add remaining ingredients, one at a time, beating until smooth.

To make the cakes, use cookie cutters to cut out different shapes. I made four 2 layer circular cakes and four one layer heart shaped cakes. Ice between the layers of any cakes and coat the outside with icing. Then, using something hard, crush your hard candies and sprinkle them on top.

Read More