Blog - biscuits and such
southern food blog
10088
paged,page-template,page-template-blog-large-image-whole-post,page-template-blog-large-image-whole-post-php,page,page-id-10088,paged-136,page-paged-136,ajax_fade,page_not_loaded,,select-child-theme-ver-1.0.0,select-theme-ver-2.8,wpb-js-composer js-comp-ver-4.3.5,vc_responsive
 

Citrus Tart with Blood Orange Curd

Happy Pi(e) Day!  I know you thought that, after a grueling National Pie Month in which all you lurking cake lovers were so over pie, you’d be back in the realm of sanity for a bit.  But today is March 14.  3.14.  The first three numbers of the mathematical constant Pi.   And to celebrate this mathematical constant that I could not explain to you if I tried my hardest, we eat pie.  Of course.

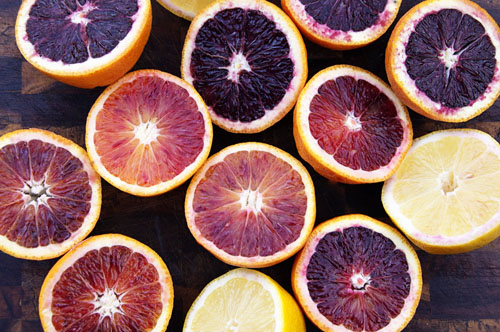
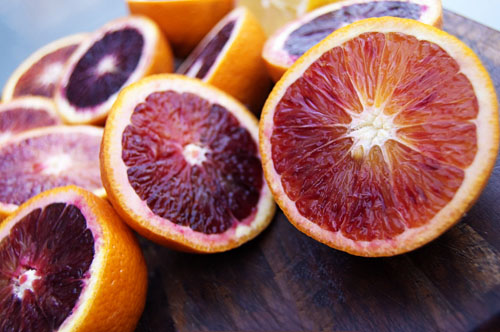
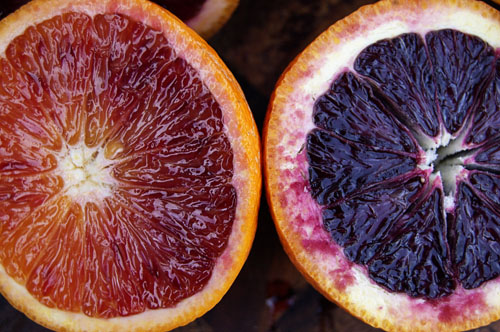
Yesterday I attended a Pi(e) Day Observed party at my friend Rachel’s house where there were over a dozen pies in a variety of sweet and savory flavors.  All delicious.  This year for Pi(e) Day I decided to contribute a tart, which is, I believe you can argue, a subset of pie.  And because the market has been bursting with blood oranges these past few weeks, I couldn’t resist the idea of a citrus tart.

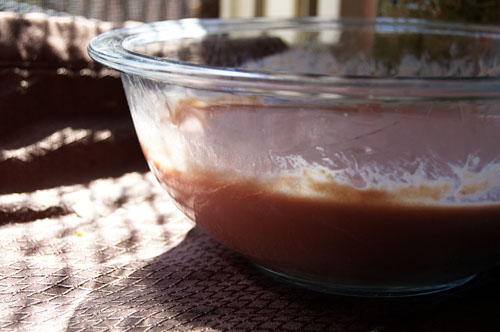
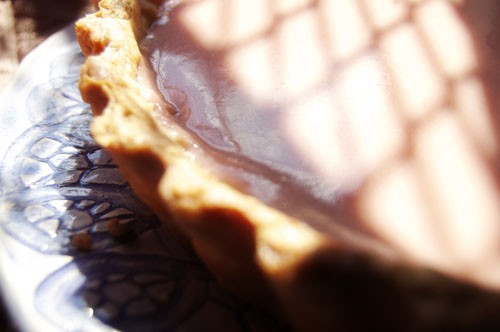
To form the base of my tart I made a blood orange curd.  It was my first curd, and I was very nervous about it.  A curd is a combination of eggs, citrus, butter, and sugar.  It’s yogurt-like in consistency and can have a sweet or tart citrusy flavor.  And when it serves as the middle layer between crisp crust and sweet fruit, it is perfection.

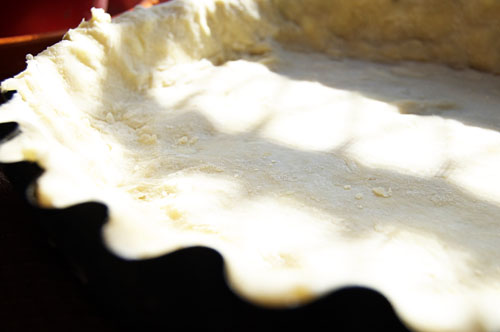
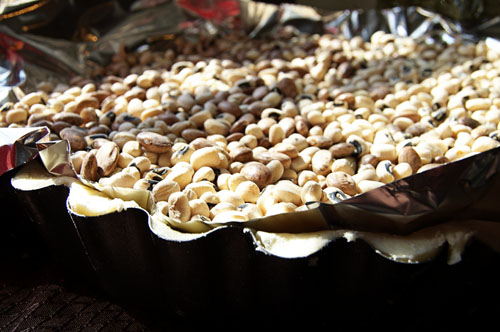
When it comes to tarts the crust is baked by itself, which means that the use of some sort of pie weight (whether they be ceramic or metal balls or beans) is necessary.  Pie weights keep the pie crust from puffing up, allowing plenty of room for you to fill in with curds and layers of beautiful fruit.

I topped my curd with a layer of sliced oranges.  This was perfect at first but as soon as we got into the car to go to the party the movement of the car prompted the oranges to settle and get swallowed up by the curd.  Which didn’t impact the flavor but did make it slightly less pretty.  If I were to do it again I would do a secondary layer of oranges, I think.  Overall this tart was perfectly tart and very delicious.  It was a great way to celebrate Pi.

Finally, I wanted to share an anecdote.  One of the questions I get fairly regularly that is not on the FAQ page (but maybe should be) and one of the questions that Live Richly asked but that didn’t make it into the Q&A is how I came up with the name of the blog.  The honest answer is that I don’t remember.  I remember coming up with a handful of names and running them by my BFF Megan.  She picked the one she like the  most, which was Biscuits and Such.  Which, for the record, is the way I make 90% of my choices.  I don’t buy clothes without texting her a picture from the dressing room first.  I don’t submit interview answers without her seeing them first.  When I write these blog posts, I write them as though I am talking to her.  Which is (I hope) why people say that reading b&s is like talking to a good friend.  So I wanted to take a moment and shoutout to my homegirl, my best friend for so many years.  She’s the only person I’d ever wear leopard print for.

Citrus Tart with Blood Orange Curd

Curd:

1 cup blood orange juice

1/2 cup lemon juice

1/4 cup sugar

6 eggs, slightly beaten

1 stick butter

Pie Dough:

2 1/2 cups flour

1/4 cup sugar

1 tsp salt

1 tsp ginger

1/4 cup vegetable shortening

1 stick butter, cold

1/2 cup ice cold water

1 tsp lemon extract

Top with:

5 oranges

The night before you want to make your tart, begin making your curd.  Squeeze approximately 6 blood oranges and 2 lemons (1 1/2 cups total liquid) and strain.  Cube the butter.  Over low heat combine the juice, sugar, and eggs.  Stir constantly, adding the butter a few cubes at a time and allowing to melt before adding more.  Do not boil.  Stir until the curd thickens.  Strain again and chill.

To make your crust combine flour, sugar, salt, and ginger in a medium sized bowl.  Use your hands to work in vegetable shortening.  Cube the butter and work that in with your fingers as well.  Stir in extract and water, a little at a time, until the dough forms a ball.  Wrap in plastic wrap and chill for one hour.

Roll the dough out on a floured surface until it’s 1/4″ thick.  Press into tart pan.  Cover with parchment paper (I used foil because I didn’t know better, parchment is superior in this instance because it allows the pie to breathe. Lesson learned) and fill with beans or rice.

Bake at 400 for 25-30 minutes or until golden brown.  Let cool.

Peel and segment your oranges.  Remove all excess peel and pith, cutting as necessary.  Slice each segment in half.

Remove the pie crust from the tart pan and fill with curd.  In a circular pattern gently place two layers of oranges into the pie.  Chill for 1 hour.  Serve.

Read More

Biscuits 101

This week I was featured on a joint collaboration between Paula Deen and Kraft- an online publication called Live Richly.  A new venture, part of their Real Women of Philadelphia efforts, they’ll be promoting a blogger every other Thursday in a feature called “Build a Better Blog.”  I was honored to be the first blogger they spoke with and love the finished product.  I was also really touched by the kind words that were left on the Q&A and would like to welcome new readers!  We’re happy to have you joining us!

In the interview, they marked my answers with the name biscuits.  Since it went live yesterday half the Museum staff and a few family members have decided this is the perfect nickname for me.  With the exception of my life-long nickname, Enie (given to me by my cousin Taylor, five days my junior, who couldn’t pronounce Elena), I’ve never had nicknames.  So I’m a little excited about this development.

At the beginning of last month a reader asked if, after we were done with the pie craze, I could do a 101 on biscuits.  In the past with things like burgers and steak we’ve done tutorials at the request of readers and so I was glad to get this one, particularly as biscuits are kind of our thing. Okay, pie is kind of our thing but “biscuits and such” had a better ring to it, way back when.

The key to biscuits, as with any dough, is getting the fat to flour ratio right.  All of the ingredients are important, but you won’t get the flaky, delicious layers unless you treat the butter just right.  Which brings me to my next point, which is that while I have used vegetable shortening and lard in biscuits before, I prefer a combination of butter and heavy cream.  I also use a combination of pastry flour and self rising flour, and both baking soda and baking powder.

To start with biscuits, you combine your dry ingredients.  Whisk (which will lighten the flours) together 1 1/4 cup self rising flour,  3/4 cup pastry flour (or cake flour), 3/4 tsp baking powder, 1/8 tsp baking soda, 1/2 tsp salt, 1 tbsp sugar, and any herbs/spices (like rosemary or green onions) that you’re interested in adding.  Whisk all the ingredients so that they are light and fluffy.  Now it’s time to add your butter, which should be COLD.  Cube four tablespoons of butter and, using, your fingers, work it into the flour.  I like to smooth the butter out into long, thin pieces.  This way, when you press the dough out later, it forms layers of butter between the flour, which is what makes the flakes.  Work the butter quickly so that your hands don’t warm it too much.

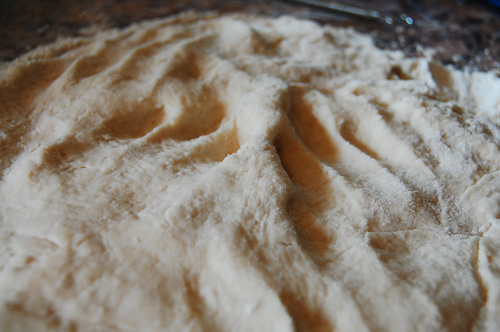
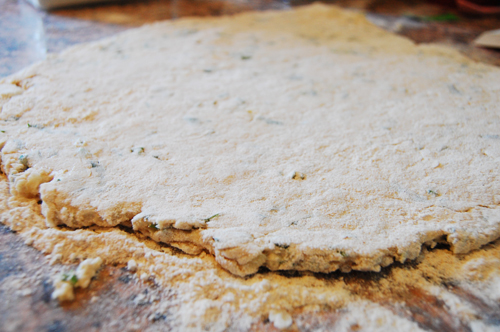
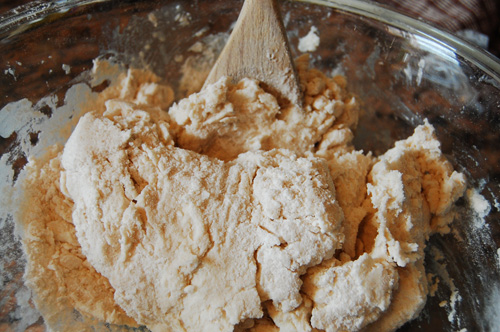
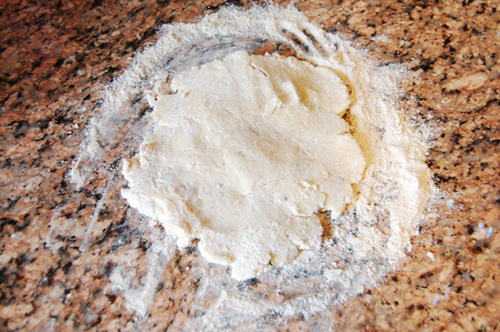
Next, it’s time to stir in 1 1/4 cups heavy cream.  Stir it in with a wooden spoon, bringing together all the ingredients until they form a rough ball.  It should be on the sticky side as it is always easier to work more flour in than it is to fix a dry dough.  Sprinkle a little all purpose flour on the countertop and dump your dough out.  Using floured hands gently press the dough out flat.  I like to work it a little at a time, working it out and then flipping it so that no one area or side gets too worked.  Continue to press it out until it is 1/2″ thick.  If at any time it starts getting sticky, pop it into the fridge for 20 minutes.

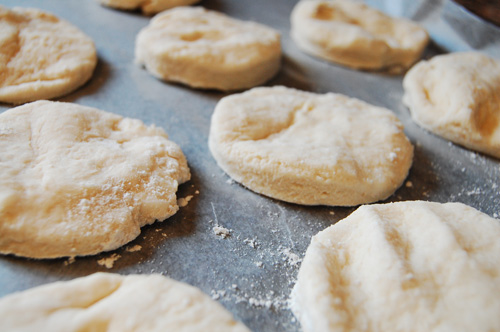
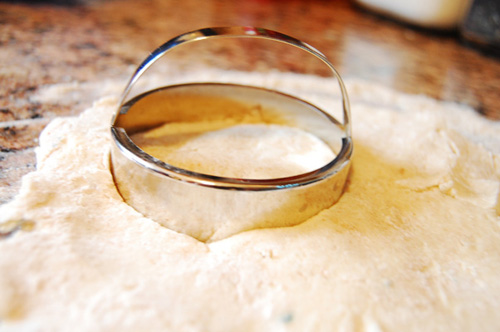
Now it’s time to cut the biscuits.  You’re welcome to cut them free-form, with cookie cutters, a glass jar, or a proper biscuit cutter.  As long as they end up portioned, it doesn’t matter.  Heat your oven to 475, cut them into shapes, and place them on an ungreased pan.  The last thing you want to do before baking is give them a glaze.  I like to take the measuring cup that I used to measure out my cream, stick 2 tbsp of butter in there, and melt the butter in the microwave.  Then I brush the butter/cream on my biscuits.  Bake for 10-12 minutes.

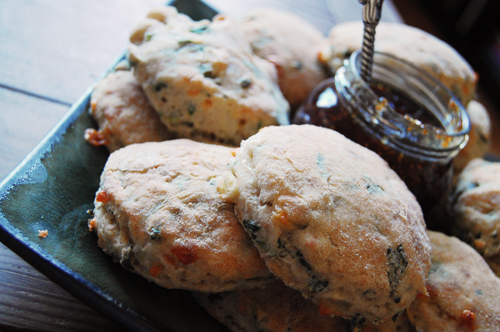
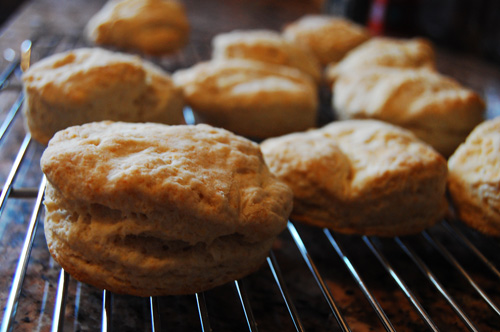
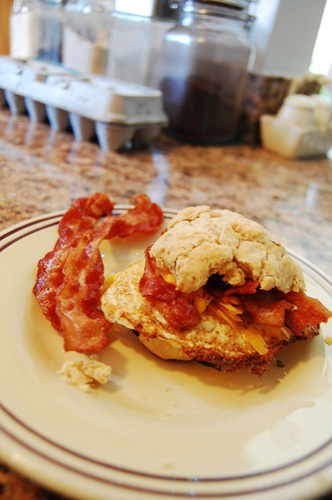
As they bake your biscuits will rise into delicious, flaky treats.  Control yourself and let them rest for 10 minutes before you cut them (any sooner and they’ll crumble). After that they are the perfect vessel for jam, butter, a spicy chicken filet, or bacon egg and cheese.  Or you may simply indulge yourself with a perfectly wonderful biscuit.  Enjoy!

Read More

Cottage Pie

The first time I remember having Shepherd’s pie (which a know-it-all-coworker/good friend just pointed out is actually Cottage Pie because it is beef, not lamb) was with the Neary Family.  When we lived in Florida we were lucky enough to have a family live down the street that perfectly complimented ours.  Mr. and Mrs. Neary were friends with my parents, the oldest daughter Caroline was my age, and their twin boys, Jack and Noah, were Reid’s age.  They were fun, glamorous (having lived in England), and had a cat door that Ryan could crawl through when he wanted breakfast before anybody at our house was awake.  They were the best friends we had in that neighborhood in South Florida, it was hard to leave them when we moved back to North Carolina.

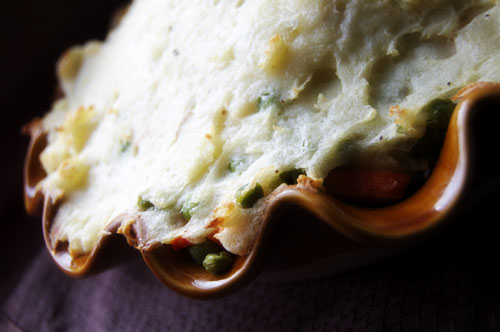
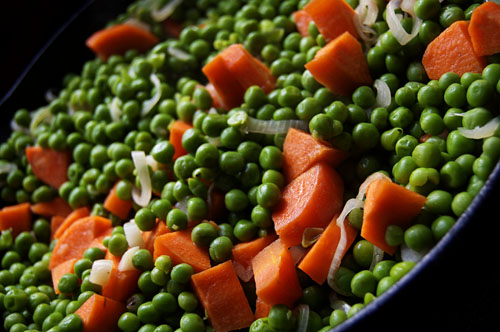
I loved this pie from the first bite.  First of all, mashed potatoes.  Duh.  Then, peas, carrots, onions, and ground beef.  I can’t find a downside.  There is no downside.  This pie is only upsides.  Delicious, creamy, herby upsides.

Cottage Pie

Mashed Potatoes:

3 russet potatoes

1 stick butter

1/2 cup mayonnaise

Salt & pepper

Middle layer:

2 cups peas

2 large carrots

2 shallots

2 cloves garlic

Salt & pepper

1 tbsp olive oil

Bottom Layer:

1 1/2 lbs ground beef

1 tbsp olive oil

2 cloves garlic

1 tbsp herbs de provance

1 tsp cumin

1 tsp red pepper flakes

Salt & pepper

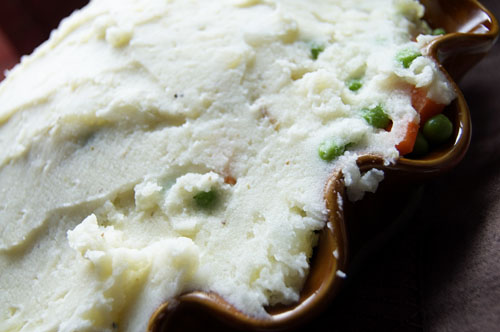
Peel potatoes as you heat a pot of water on the stove.  Chunk the potatoes and boil, salting the water, until tender.  Combine in a mixer with butter, mayo, and a dash of salt and pepper.  Mix until creamy.  Salt and pepper to taste.  Set aside.

Over medium heat, saute garlic in oil.  Add ground beef and spices, cooking for 10-12 minutes or until cooked through.  Set aside.

Heat more olive oil and saute the remaining two cloves of garlic.  Add in peas, chopped  and peeled carrots, peeled and sliced shallots, and a sprinkle of salt & pepper.

In your pie dish layer ground beef on the bottom, peas and carrots in the middle, and top with mashed potatoes.  Bake at 400 for 30 minutes.


Read More