Blog - biscuits and such
southern food blog
10088
paged,page-template,page-template-blog-large-image-whole-post,page-template-blog-large-image-whole-post-php,page,page-id-10088,paged-199,page-paged-199,ajax_fade,page_not_loaded,,select-child-theme-ver-1.0.0,select-theme-ver-2.8,wpb-js-composer js-comp-ver-4.3.5,vc_responsive
 

Sweet Tea

st2

When he was in high school, my brother Reid had a band called Sweet Tea and the Carolina Soul.  The name of the band is so fitting, you see, because the two are so intertwined.  As a southerner, few things are more important or more staple in our lives than sweet tea.  You may think I’m exaggerating, but I’m not.  It breaks my heart every time I go to a restaurant in the north and see “iced tea” on the menu.

st4

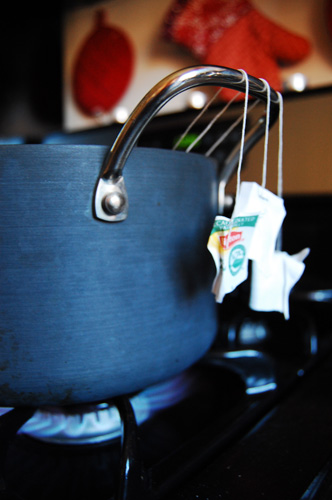
Sweet tea is traditionally made with black tea, and is sweetened during or right after the water has boiled.  I recommend Luizanne brand tea bags, but any other will do.  If you’re looking to flavor your sweet tea, it works nicely to add a flavored bag along with the the regular black tea bags.  It’s important to steep the tea while it’s boiling, not only does it cut time a little, it makes sure the tea is nice and strong.

st3

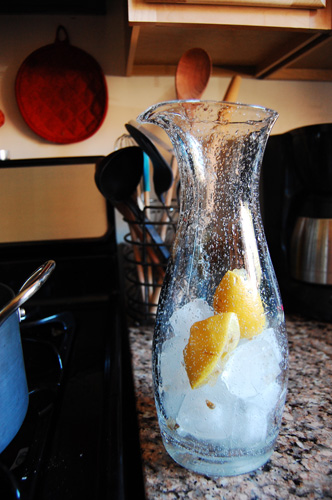
Personally I prefer my sweet tea with lemon.  Some people don’t, but I find that it cuts the sugar taste nicely so you don’t feel overwhelmed.  Sweet tea is made with ice, which helps cool and dilute it.  I make an amount of tea to fit the pitcher I’m using, so I fill my pitcher up 3/4 of the way with water to boil.  Then, when it comes time to measure out the ice, I fill my pitcher a little less than half full with ice.  I go ahead and add the lemon to the ice, so that the hot tea has to pour through the lemon skin, enhancing the flavor.

st1

Sweet Tea

5 cups of water

3 family size bags of black tea

1 cup of granulated sugar

3 cups of ice

1 lemon

Bring water to boil, with tea bags steeping (Be careful how you hang the tea bag strings, I’ve had experiences where the paper tag got too close to the burner (gas or electric) and caught on fire).  Once the water has boiled, turn off the heat and let steep for five minutes.  Fill your pitcher a little less than halfway through with ice.  Squeeze lemon juice onto ice, and leave the lemon in the pitcher.  Slowly stir sugar into hot tea, until fully dissolved.  Pour tea over ice, and refrigerate.

Serve cool, with more ice and a wedge of lemon.

Read More

Rosemary Biscuits

biscuits2

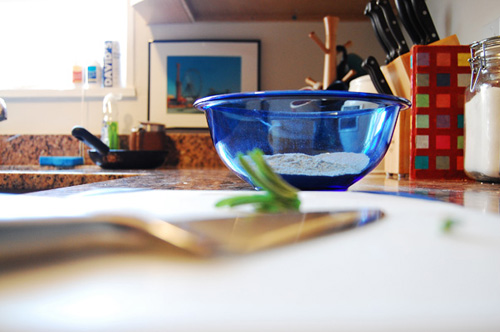
I really like Maryland, I do.  At first I hated it.  For starters, it’s very cold in the winter.  Never the less, over the past four and a half years, it’s really grown on me.  But the first thing I do everytime I go home is go to Bojangles (which has the best slogan ever- “Born and Breaded in the Carolinas”).  Now, I’m aware that there are a handful of Bojangles north of Richmond.  But I don’t trust them.  In high school I went to one, and they didn’t serve sweet tea.  And that’s just not natural.  What draws me back to Bo’s again and again, is their chicken biscuit.  It’s a spicy chicken filet on a buttery, flaky, divine biscuit.
biscuits6

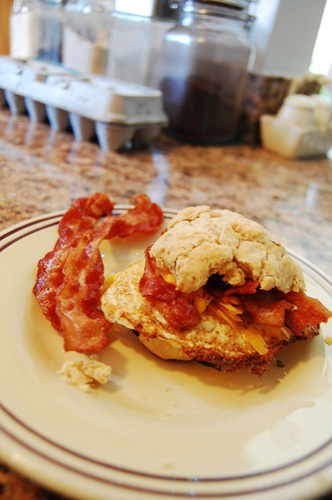
Now, at home I prefer my biscuits with a fried egg, cheese, and a little bacon.  But the actual biscuit itself, well that needs to uphold the standard of delicious biscuits… flaky, buttery, melt in your mouth goodness.  And this recipe certainly does that.  It produces perfect biscuits time and again, and you don’t have to worry about sticking to the recipe exactly, it fudges pretty easily.
biscuits5

So let’s talk about this recipe.  The measurements I’m going to give you make about ten biscuits.  Now, since I can never seem to find the ability to eat ten biscuits before they go stale, I make a mix, and measure out of that as needed.  In my opinion, the key ingredients here are the pastry flour and the heavy cream.  I also add in fresh rosemary, which is totally optional.  I think rosemary is one of the most heavenly herbs.  It brings a really succulent flavor to the biscuit, which works harmoniously with the flavors in the eggs and bacon, but probably wouldn’t be so complimentary to other things.  So feel free to substitute the rosemary with other herbs or spices, or to leave it out completely.
biscuits4

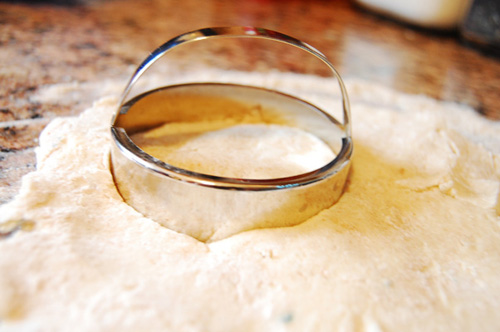
One last note about the tools… Since I recently made hand pies, I purchased biscuit cutters.  Prior to that, I was using a glass cup, which frankly worked almost as well.  Really, even patting the dough into a round shape will produce a biscuit, which is always what I do with the dough scraps.  The only downside to that is that the biscuit tends not to be committed to being one biscuit, so it’s no good for cutting in half and loading with other foods.  Like I said, this recipe is nothing to be afraid of.  Frankly, it lets you fudge it here and there, and unlike other biscuit recipes, it actually takes effort to mess it up.
biscuits1

Rosemary Biscuits

1 1/4 cups self rising flour

3/4 cup pastry flour (or cake flour)

3/4 tsp baking powder

1/8 tsp baking soda

1/2 tsp salt

1 tbsp sugar

4 tbsp cold butter

2 tbsp melted butter (for glazing)

1 1/4 cup heavy cream

1/4 cup all purpose flour (for shaping the biscuits, not to go into the mix)

2 tbsp chopped fresh rosemary

Preheat the oven to 475(f).  Whisk together the dry ingredients and the rosemary.  Use fingers to incorporate cold butter.  With the butter, you really just have to knead it with your fingers until the mixture has a course texture, like corn meal.  Pour in cream.  Stir (preferably with a wooden spoon) until dough forms.  It’s okay if the dough is a little sticky, you’ll work it out on the countertop.

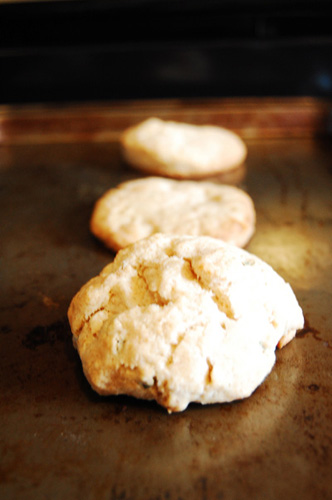
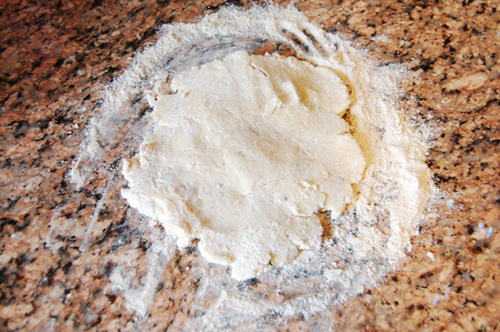
Sprinkle the all purpose flour onto the countertop and scoop your dough onto it.  Use your hands to flatten it out.  I like to flatten it a little, flip it, and flatten it some more.  This method ensures that one side doesn’t get over worked, which is important.  If your dough (and this goes for any dough, really) ever gets too sticky and unmanageable, pop it into the fridge for twenty minutes or so.  The stickiness is really coming from the butter getting too warm, so cooling it off will allow it to firm up a bit.  Using a biscuit cutter (or whatever you have laying around), cut the dough into circular shapes.  Place on ungreased baking pan.

Now, I put aside the measuring cup that I used to hold the heavy cream and melt the butter for glazing in that.  It just gives it an extra creaminess.  Using a baking brush (I use a silicon one, but anything will do), brush melted butter on top of the biscuits.  Bake for 10-12 minutes.

One word of advice if you are going to slice these biscuits in half and stuff them with things.  Give them five minutes to cool off before you cut into them.  Otherwise they’ll crumble and you’ll have a hard time eating anything sandwich style on them.

Makes 6 biscuits.

Read More

Jalapeño Grits

jalapenogrits5

I stand firm on my belief that grits are totally misunderstood.  Before Dan let me cook them for him, his only grits experience had been on a trip to North Carolina to visit his grandmother.  Let’s just say… it was a bad experience.  It’s because a lot of people don’t do grits right.

jalapenogrits1

Now, I will swear by places like Cracker Barrel and Waffle House when you’re in a bind.  Say it’s 2am on New Year’s Eve and you need hashbrowns.  Well, then Waffle House is the place to be.  But when it comes to their grits… something is missing.  They tend to be gummy, flavorless, and mushy.  Which is such a waste, because grits have so much potential!  They can be sweet, salty, cheesy, spicy… anything you dream of.

jalapenogrits3

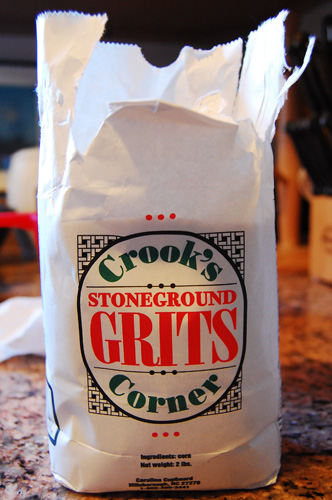
Traditionally grits are made from corn ground in a stone mill.  The corn is sifted, the finer product becomes corn meal, and the thicker product is the grit.  Grits, depending on how you’re preparing them, can be cooked in water, milk, or a mixture.  Usually I make about six servings, so that we have a meal plus some leftovers.  Grits cook in a 1:6 ratio, so one cup of grits mixed with six cups of liquid produces approximately six servings.  I use six cups of water, plus some butter and milk or heavy cream to add some flavor.

jalapenogrits21

One of the variables with this recipe is the time of year.  The strength of the jalapeño’s flavor depends a lot on the season that you’re cooking with it.  In the summer, when jalapeños are in season, the flavor can be overwhelming and can even be too much.  If you’re cooking with/for someone whose palate is sensitive to spice, you might want use half of a jalapeño.  Also, beware of the pulp and seeds of a jalapeño- they’re the hottest part!  If you find that your flavor is too strong, adding a little extra lemon juice or lemon zest can balance it out.  And always wash your hands after working with jalapeños!

jalapenogrits4

Jalapeño Grits

1 cup grits

6 cups water

1 jalapeño

2 cups mushrooms

1 white onion

1/2 cup cheddar cheese

1/4 cup parmesan cheese

1 lemon, juiced

1/4 cup heavy cream

1/2 cup milk

Salt & pepper

1 garlic clove

2 tbsp olive oil

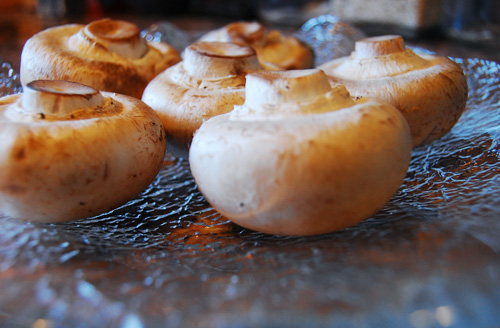
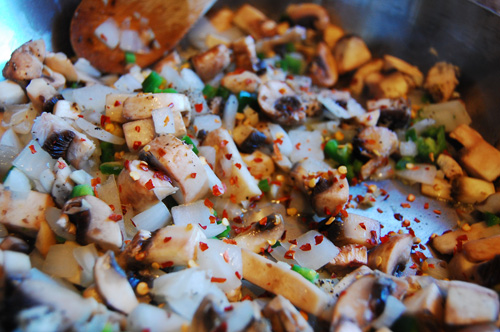
Begin by dicing your onion, mushrooms, jalapeño, and garlic.  Saute them with the olive oil.

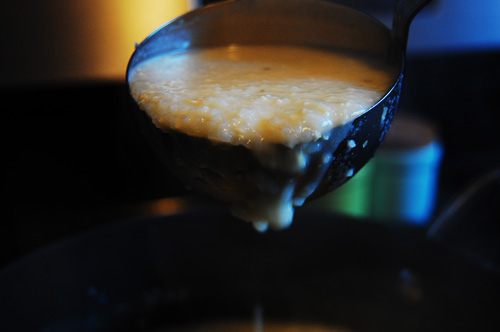
While your vegetables are cooking, bring your grits and water to a boil.  Grits take between 10-15 minutes to thicken, but it is important to stir them every few minutes to make sure they aren’t sticking to the bottom.

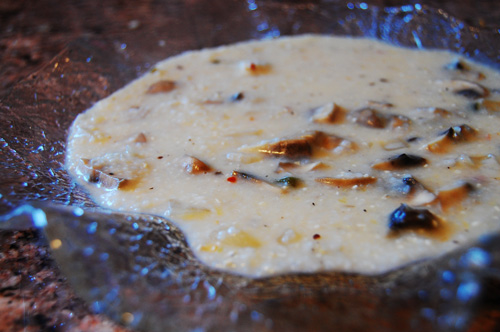
When your vegetables are tender, reduce heat to a simmer.  When your grits are thick, stir in milk, cream, cheese, seasoning, and lemon juice.  Stir until the cheese has melted and it is all fully incorporated.  Finally, pour the vegetables into the grits, and stir together.

Serves 4.

Read More