The Photography of Biscuits & Such
Happy March! This week, courtesy of a conference Dan’s company is sending him to, we are in California (yay!). It’s my first time in California, second time on the West Coast, and first time ever traveling as the spouse of someone going to a conference. I feel very much like I expect my Grammy did in the 60’s and 70’s as she and Poppie traveled around the country (World? They’ve been everywhere). While I’m gone I’d like to share a little look into one of the things I get asked about most, the photography on Biscuits and Such. It’s something that I work constantly to improve and I thought it would be fun to give some background information, tips, etc.
a panoramic holga image from wrightsville beach, nc. made in 2003.
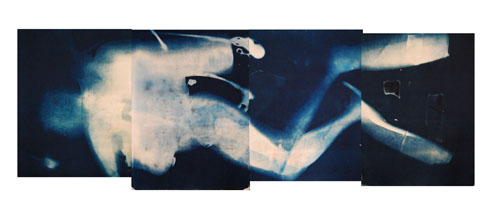
To start, for those of you who don’t know this about me, I have a BFA in photography from the Maryland Institute College of Art. I was lucky enough to have a mother who twisted my arm into attending Durham’s arts magnet school, Durham School for the Arts, which is where my interest in photography began. Not just any photography– specifically alternative processes. Three different (equally amazing) teachers guided me towards pinholes, medium format, cyanotypes, toy cameras, and more during high school. I had a holga long after they became cult classics but long before Urban Outfitters sold them for $60. I loved everything about experimental photography– I ate it up. That passion stayed with me throughout my years at MICA. While I, of course, learned formal darkroom skills, the art of the Fine Print, and processed hundreds of rolls of film, my real passion was for (almost) forgotten processes like palladium, Van Dyke, and cyanotype. As seen in my senior thesis, shown in part below.
multiple cyanotype panels of myself in scuba gear.
This is all to say that when I started Biscuits and Such in October 2008 I had spent more of my photography education painting chemicals on paper than behind a viewfinder. While I am (and have been for many years) a photographer, food photography did not come naturally. See as evidence a photo from that first post, Country Style Steak.
That is a horrible photo. The composition is bad, there’s crap in the background, the lighting is weird, and the food does not look appetizing. Nevertheless, I leave the photos untouched on that post because, well, it’s the first. Since those days, I’ve improved. Significantly, I think. Here are some of the things I try and consider when I’m photographing food:
Composition:
Every time I teach a photography workshop I get to the part of the lesson where I’m supposed to explain the rule of thirds, and then I forget it. I mean, as a photographer I understand it- don’t center things, images have more interest and tension if the subject is off center- but I always forget how to explain it. Essentially, there are two rules I always follow when I’m photographing anything– don’t center your subject (that applies 99.9% of the time), and MOVE YOUR BODY. The most helpful photography advice I’ve ever received, in all my years of formal training, is to not just pick one spot to stand and photograph. You might think that one shot, one pose, one position is perfect (why waste more time, right?), but you’ll always be surprised at the better picture you can get if you walk around your subject, squat, stand on a chair, tilt your head, tilt your camera. More often than not, the final photo I take of something ends up being the one that I use (though that rationale could lead me to never stop taking photos– there has to be an ending to every photoshoot).
Lighting:
Our second apartment in Takoma Park had the best lighting in the world. It was seriously incredible- perfectly diffused, every sunlight hour was golden hour in that room. Since we left that apartment, however, I’ve had to struggle to find the light and make images that are well lit. The number one rule in photography, particularly food photography, is that whenever possible use natural light. Hopefully you’ve heard this over and over again. The thing that takes a ho-hum picture and makes it great is the light. Natural light can provide all the tone and shadow you need at a low barrier. It’s free- just find the sun. That being said, there might be times when you need to photograph indoors (away from windows) or at night. In the winter I find myself photographing at night (or in our windowless kitchen) more often than I would like because of timing and the short daylight hours. In these cases, an external flash is a wonderful tool. I use the Canon Speedlite 430 Ex II, which is pure magic. It allows me to bounce light around the room, creating images that are evenly lit and clear. However, not everyone is ready to purchase an external flash– it took me many years of food photography before I was there! If you’re not the owner of an external flash but want to make photographs indoors there are a few options- you can put a UV bulb into a lamp or light to add some white light to your kitchen scene, you can use a tripod to take images with a slower shutter and white balance your images to get rid of the orange hue, or you can diffuse the built in flash in your camera. Now, I know everyone will tell you that the built in flash on your camera is the worst. thing. ever, but it can work to your advantage. Simply hold a white business card or piece of paper in front of the flash as you shoot, which will diffuse the light to make the images a little softer. It’s not a perfect substitute for natural light, but in a pinch it will do.
The Scene:
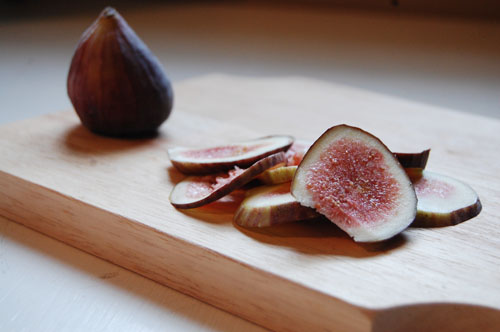
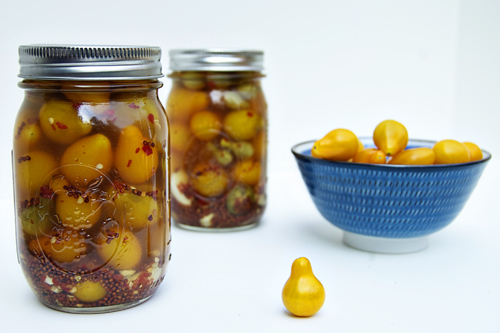
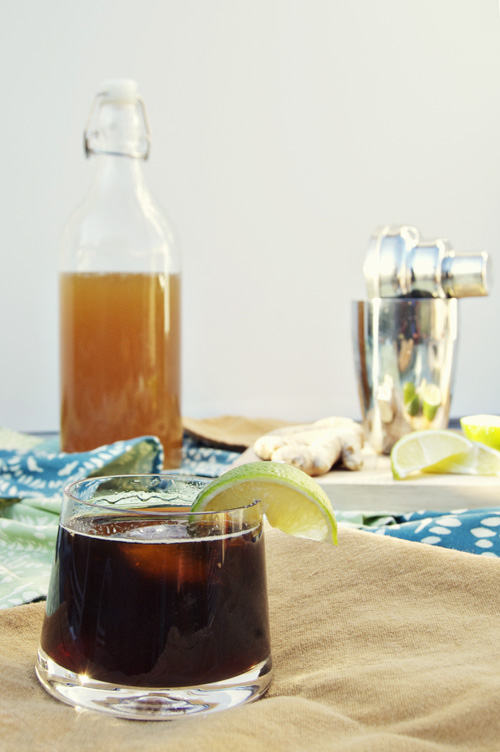
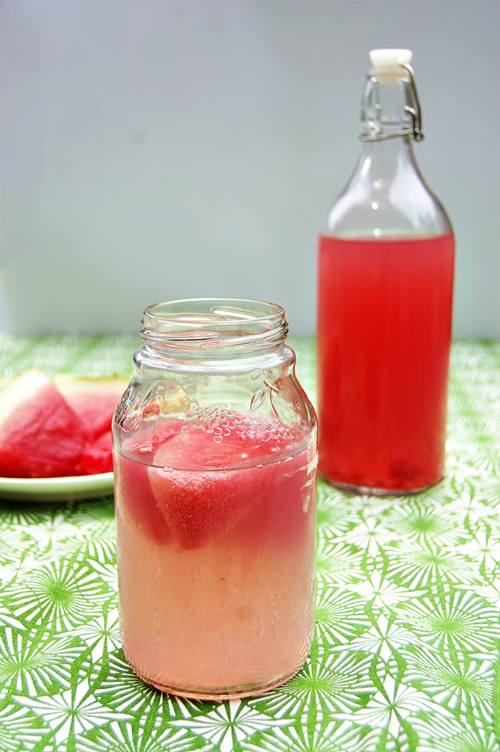
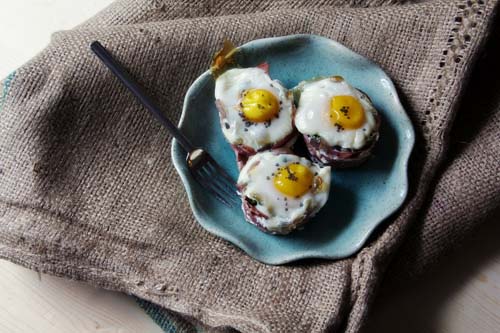
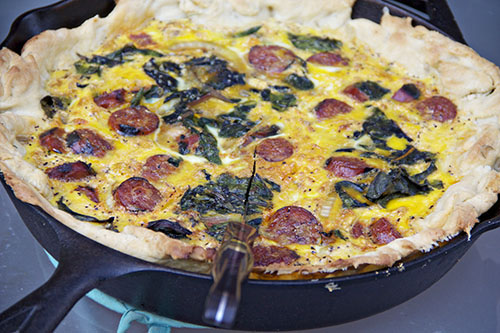
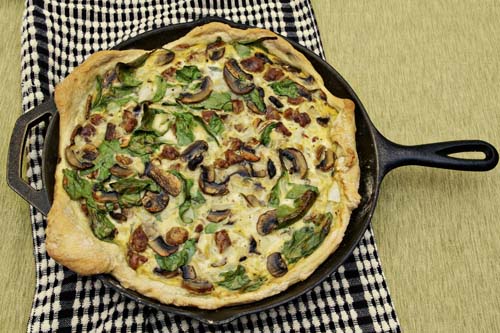
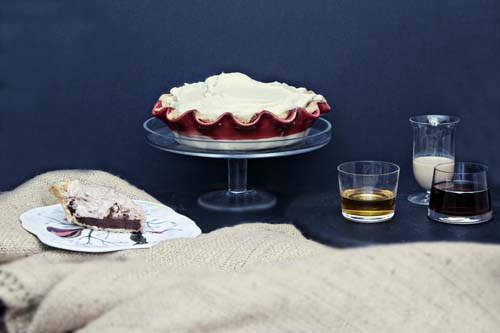
There is a delicate balance in food photography between being so close to your food that the image looks like an impressionist painting and being so far away that the food becomes just another element in an elaborate tablescape. Ultimately you want to create an image that shows the food in all of its glory, but also an image that is interesting and complex. One thing that I struggle with is making myself step back. For my final photo shot I’ve started creating a scene. That can be as simple as setting up a wooden board in my bedroom near the window or as involved as using different backgrounds and fabric to show the food paired with ingredients, tools, or other props. It’s nice for your lead photograph to be a visual summary, it sets the scene for the story and the recipe.
Action:
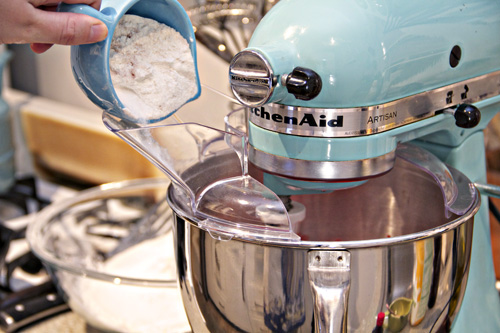
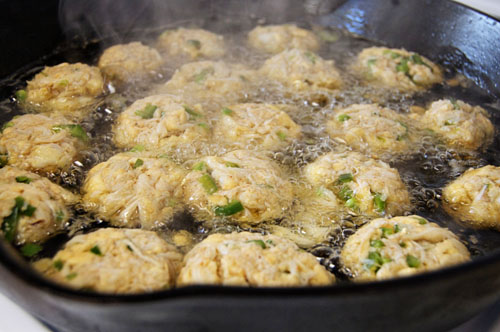
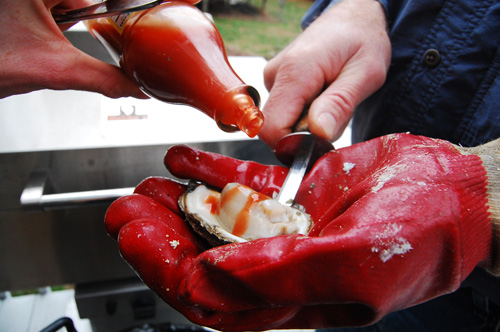
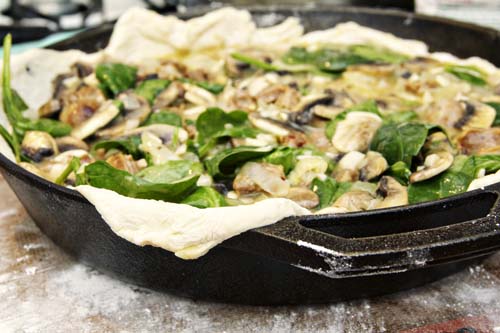
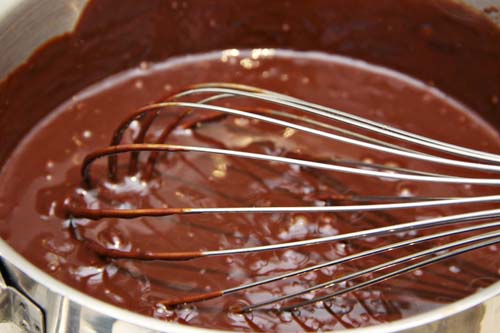
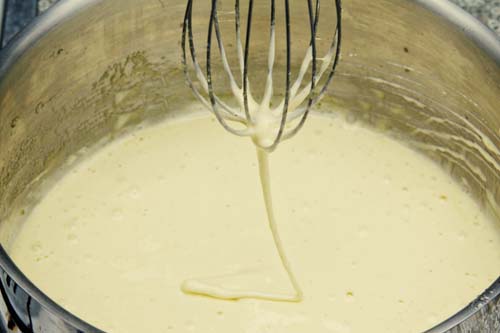
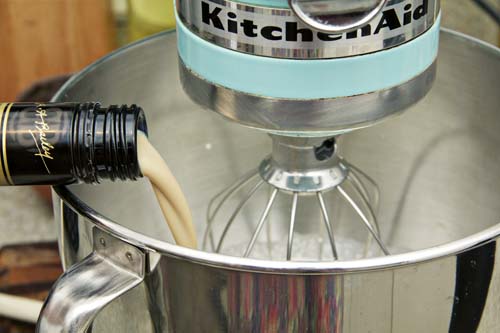
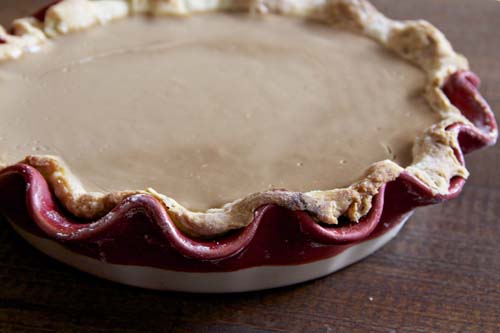
What drew me into food blogs in the beginning was the step-by-step style posts where I could look at my mousse and try and gauge whether it looked how it was supposed to. Over the years I’ve gone back and forth on process photos, not wanting to overwhelm readers with too many images, but also not wanting to just post three photos of the finished product. The reality is that some times I don’t take process photos because there’s too much going on, or because I forget, or because making food takes up all of my hands. Other times the process photos turn out poorly and I don’t think it’s worth posting them. However, I ultimately think that they add to the post and the recipe, so I like to include them. I really love action shots where things are frying, being poured, or people are demonstrating what to do with their hands. I think it makes an image that is dynamic and also instructional, which is the goal. For action shots where you are both the chef and the photographer a tripod can be your best friend. It allows you to multitask while taking clear images (and helps you not drop your camera!). You can set up the shot BEFORE you pour the beer into the pie crust, getting the photo you want without having to ruin your crust by pouring too much beer into it.
Focus:
More than anything else I see the photographs I take for Biscuits and Such as art. As such, I try and make images that are beautiful and that tell a story. One area where I love to experiment is with my focus and depth of field. Depth of field is determined by your f-stop, which controls the size of your aperture (the hole that the light goes through). Essentially, the smaller the aperture, the less light comes through, the more things are in focus. A classic example of a high fstop is the group f64, which included such photography heavy hitters as Imogen Cunningham and Ansel Adams. In contrast, a low f-stop means a larger aperture, more light getting through, and a shallower depth of field. This allows for creative focus, which can be a beautiful way to highlight different parts of a dish or scene.
Details:
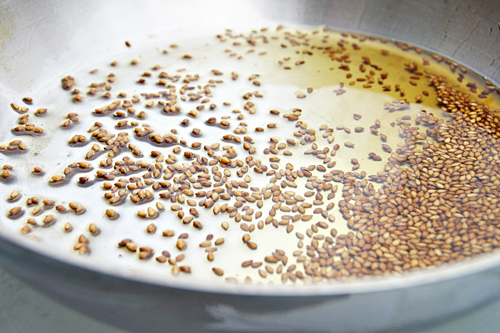
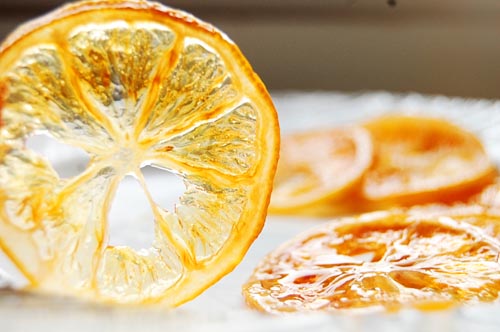
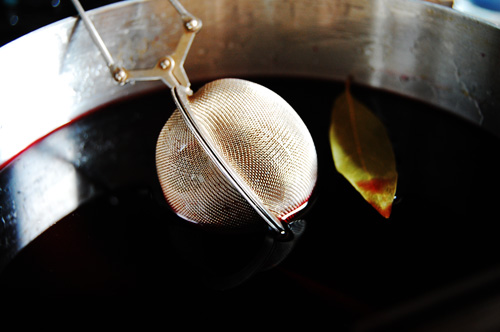
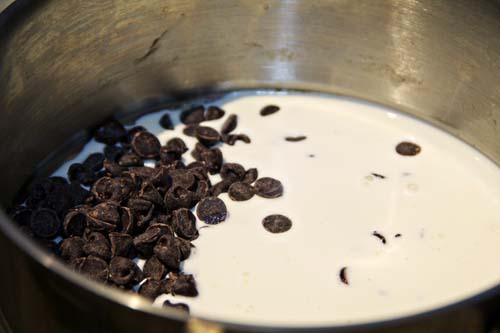
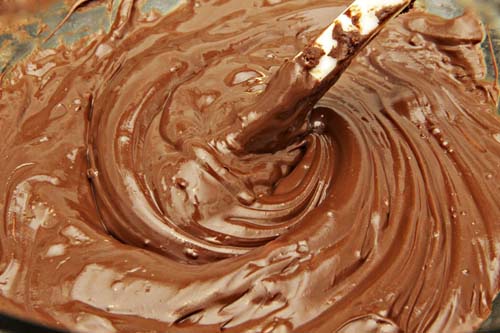
A good post should include a few types of photographs. There should be process shots, there should wide shots showing the whole dish, and there should be detail shots. Detail shots are beneficial in two ways- they give further insight into a recipe by showing up close how the food should look at different stages. They also allow you to flex your creative muscles. In this age of constant photo sharing, having a few beautiful detail shots can take your blog (and your recipes) a far way. Don’t be afraid to get close to your food, and use your detail shots to highlight ingredients or moments that may not be imperative to the recipe, but tell a story that can enhance the experience.
Props:
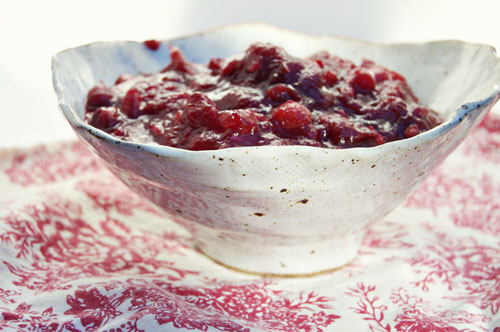
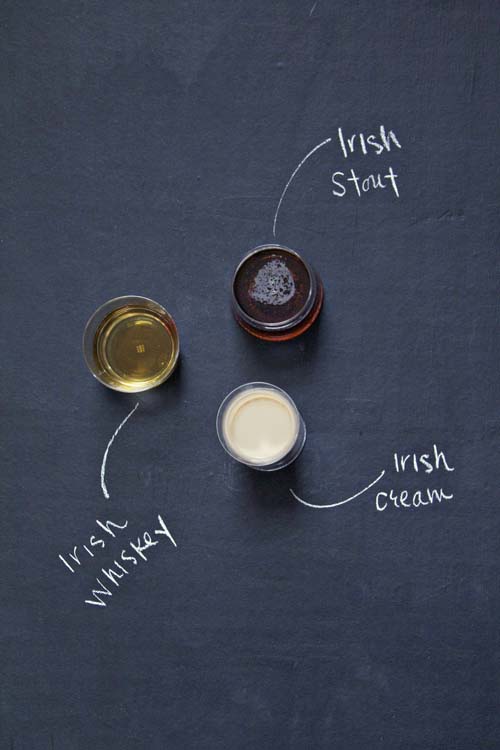
At first, I was all about the food. My pictures were much more documentary, just including the materials and tools I was using to make the food itself. When we moved back to Baltimore and I lost my perfectly lit kitchen, I had to start taking my food out to the backyard to photograph. After I while I realized that I could only post so many pictures of food sitting on my outdoor glass table any longer without you revolting. So I started investing in things to create an outdoor “studio.” Since then I’ve started to evolve, including more fabrics, patterns, props, and techniques (such as chalkboard paint) to make my photos more dynamic. I still think that as a community food blogs are moving too far from pictures of the food and that the food should be accentuated by props, not just an element in an elaborate tablescape, but I do think that experimenting with color, pattern, texture, and writing can all be interesting ways to make your images more interesting and dynamic.
Abstract vs Literal:
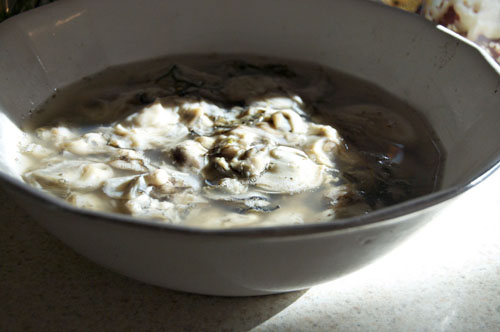
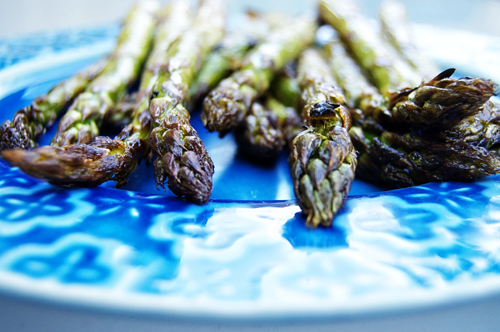
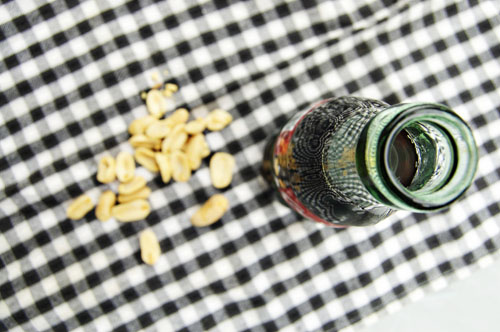
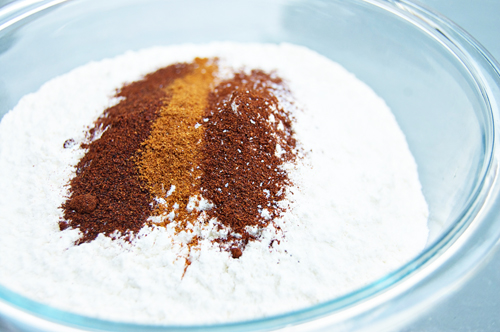
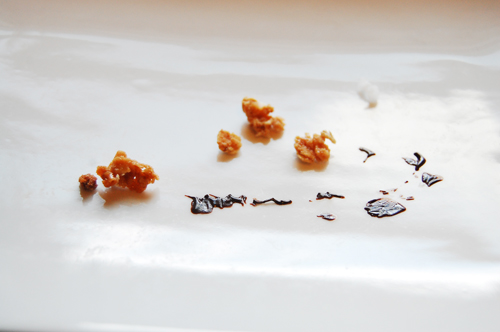
Finally, I think that a really interesting direction to head with food photography is the abstract. I often have enough to say in a post that I need a lot of photographs, and it’s boring for them to be all the same. I like to include a huge variety, from carefully set scenes to detail shots to more abstract images. Abstract images can be a beautiful way to let the ingredients, settings, or tools sing. Food is beautiful, and the in the process of making food you can find some wonderful glimpses. Photos that are more literal in content, showing when/how to add ingredients or how things should look during different steps are incredibly important, but a well rounded post includes images of all types. Keep your eyes peeled for the beautiful moments!
I hope this has been helpful! I’d love to hear your photo tips and feedback!


